On the pedals: Learn to ride in 15 minutes
Pedals at the ready! Here's how to teach your child to ride a bike in four steps.

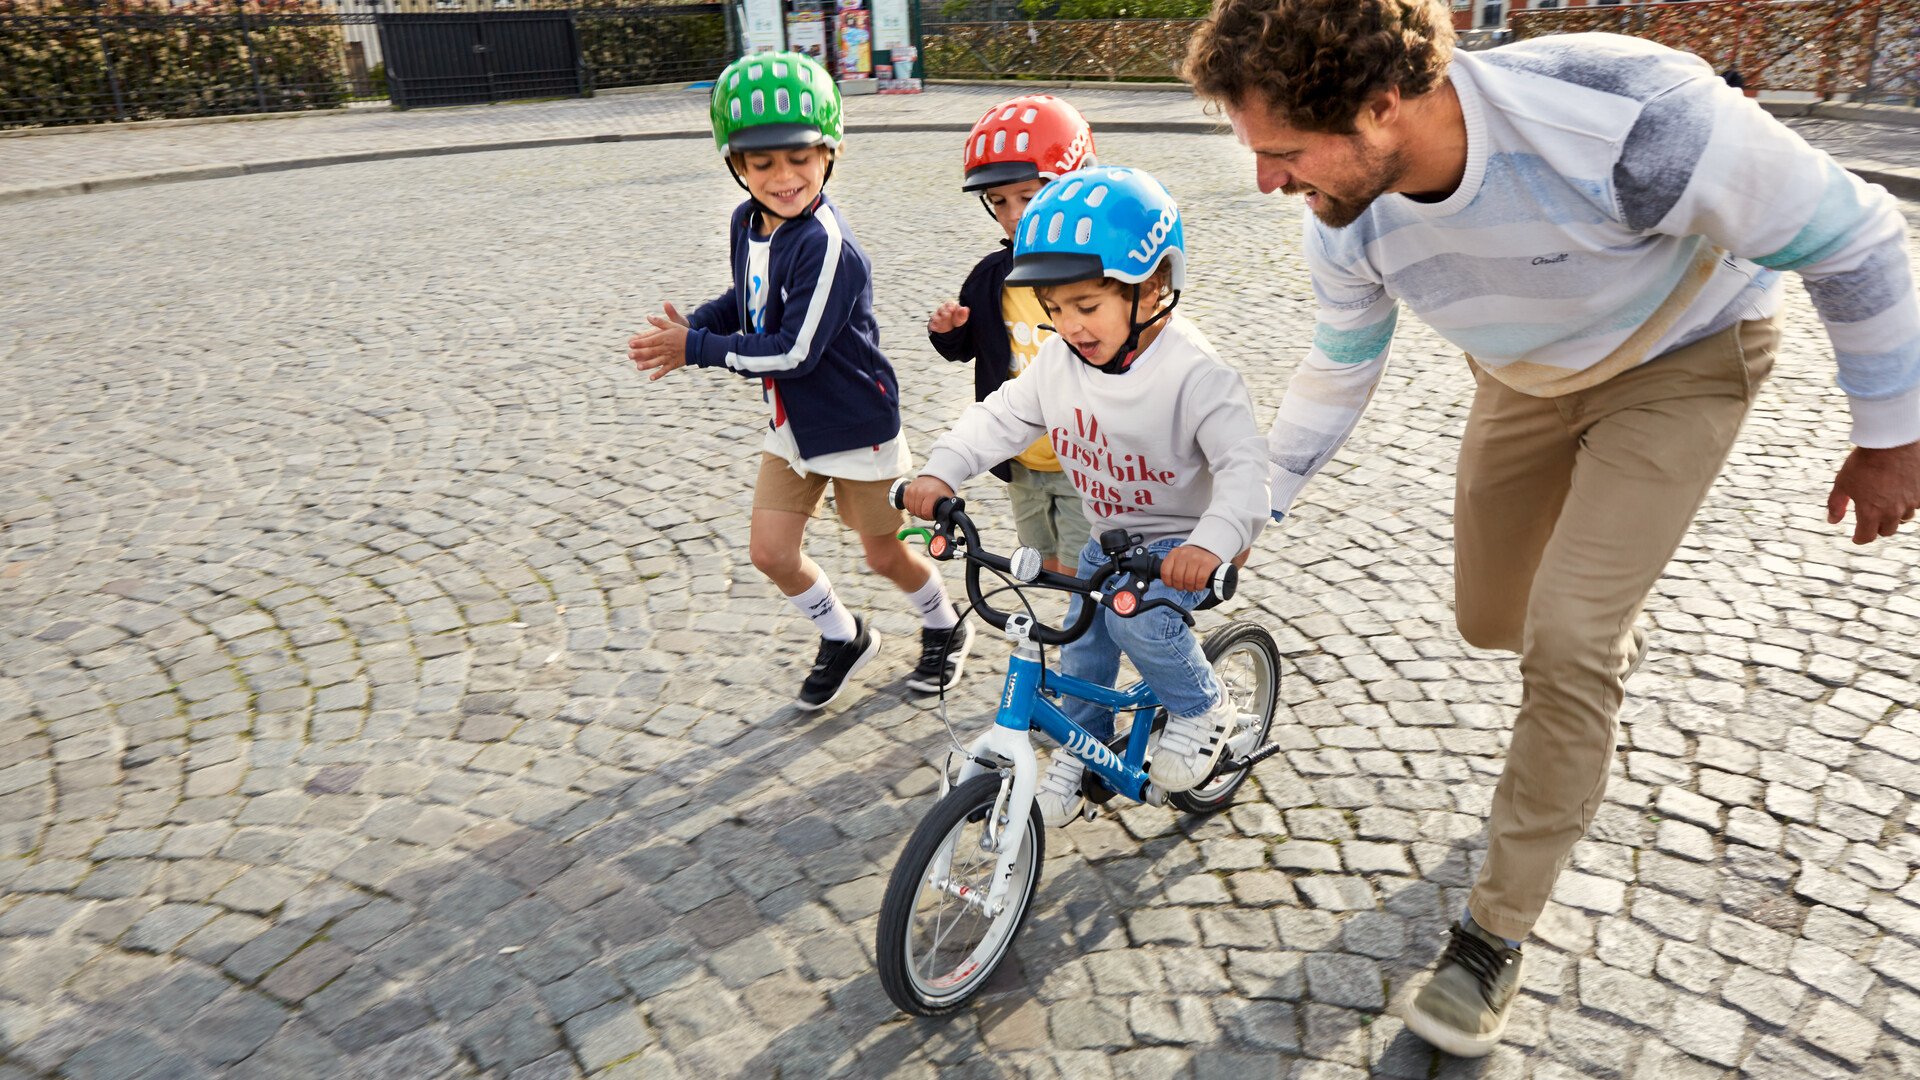
Progressing from a balance bike to a bike with pedals is not as giant a leap as it can seem. In fact, for kids who have already become proficient on a balance bike, they will likely find the transition to be a walk in the park.
Before they even get on their new bike, begin with a dry run: Lift their bike and turn the cranks using your hand to promote understanding of how this makes the rear wheel spin.
Once it's all whizzing around, most kids usually understand how pedaling works and will be eager to get going.
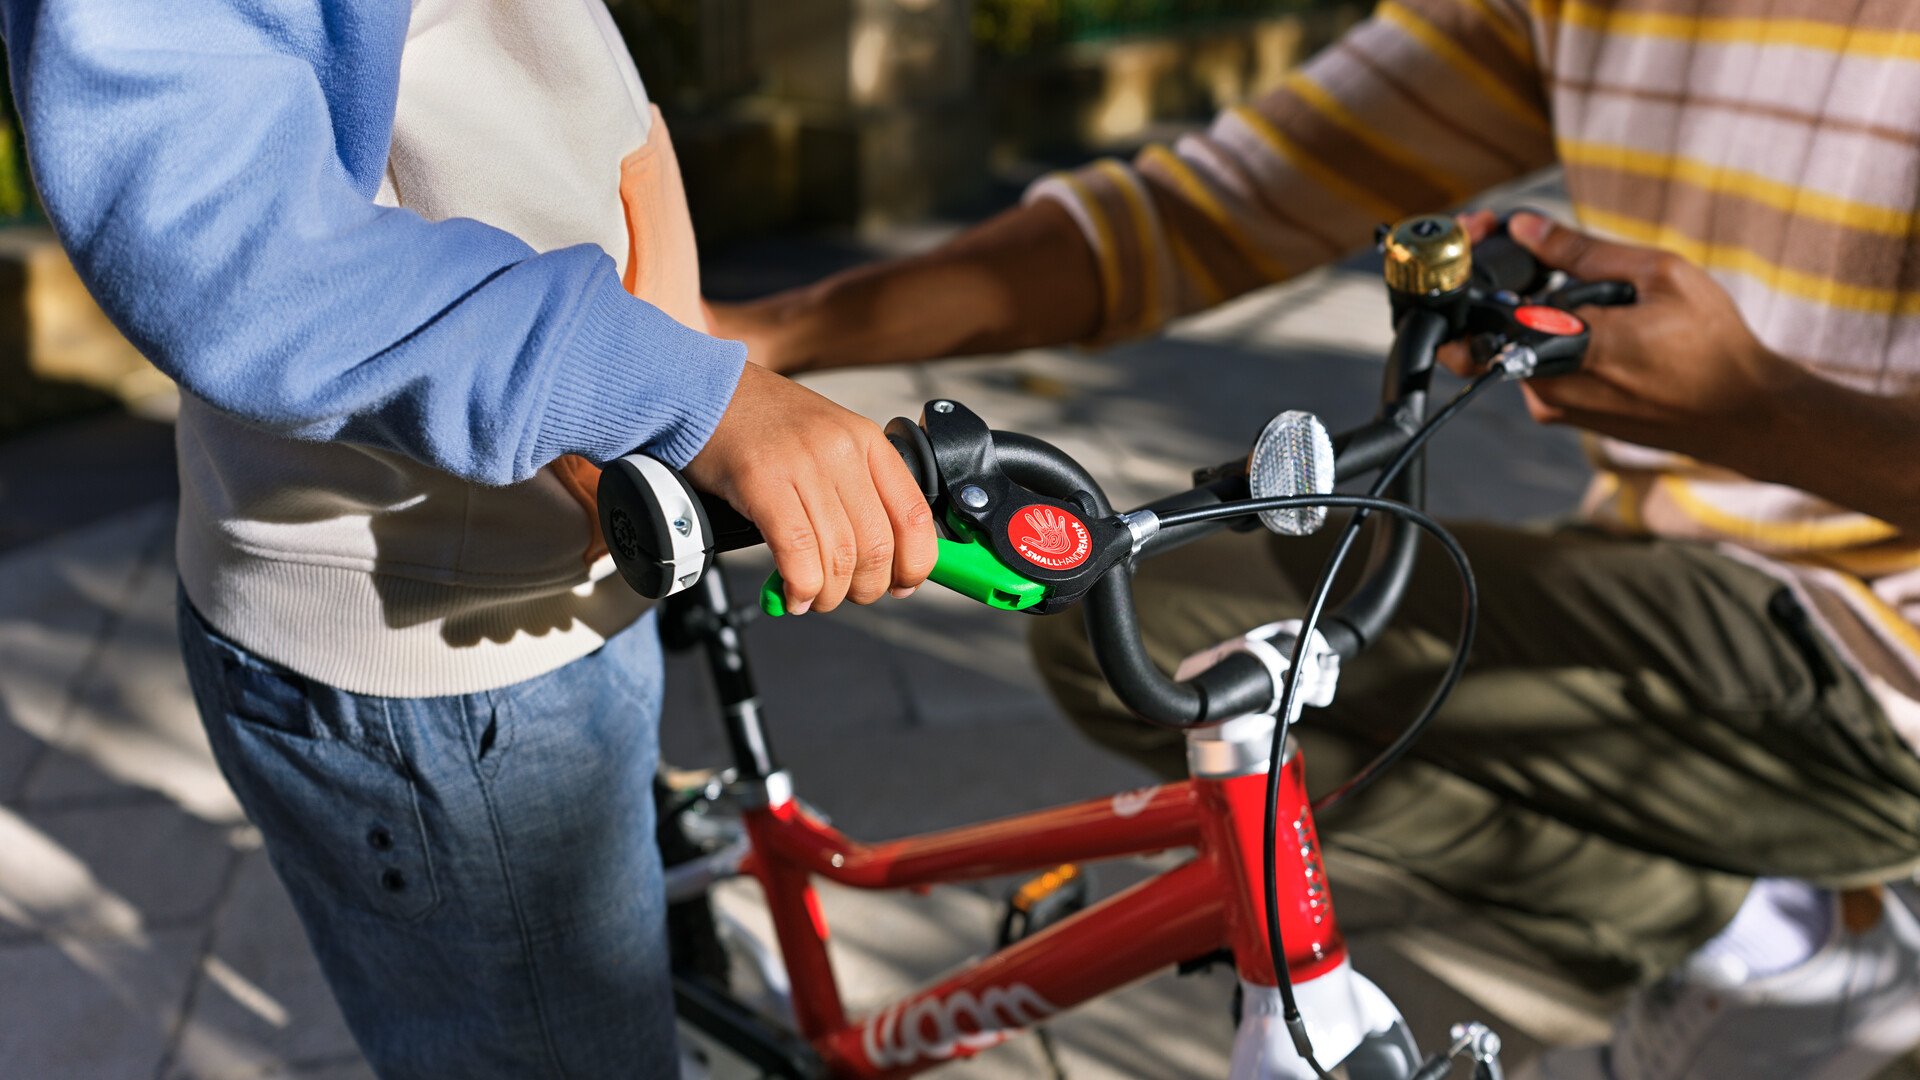
Grab the chance now to introduce them properly to the green rear brake lever. Explain that this should be brake lever number one in their eyes. When they're ready, introduce the black front brake lever and point out how they work best together.
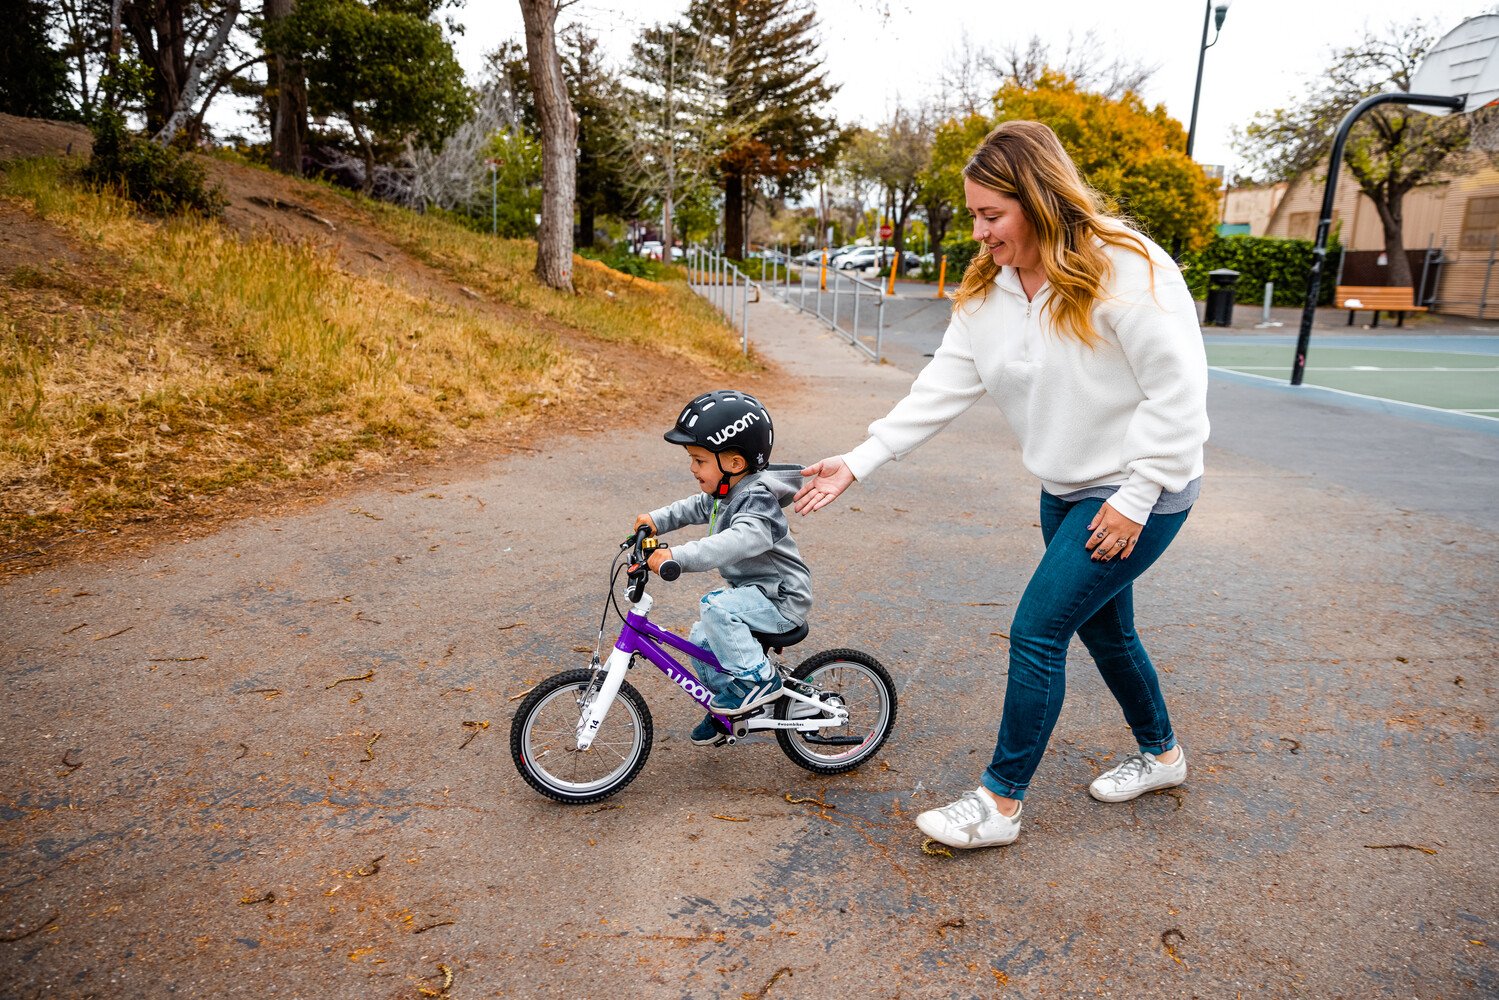
Okay, now things are looking more ready: As the adult, rest a supportive hand on their shoulders or the back of their saddle. Instruct your young rider to keep their eyes fixed ahead of them. Give them a sign to tug on the front and rear brakes at regular intervals to familiarize themselves with the output.
What does my child need to ride a bike?
This is an easy one: If you want to make sure your child is set up for a good time, they need a properly sized, correctly set-up, child-specific bike. >>In this article, we go through the most important elements to consider when buying a children's bike.
If you're in any doubt about the right size bike for your young rider, consult our bike finder for advice. In a matter of seconds, you'll know exactly which woom bike will be most suitable.
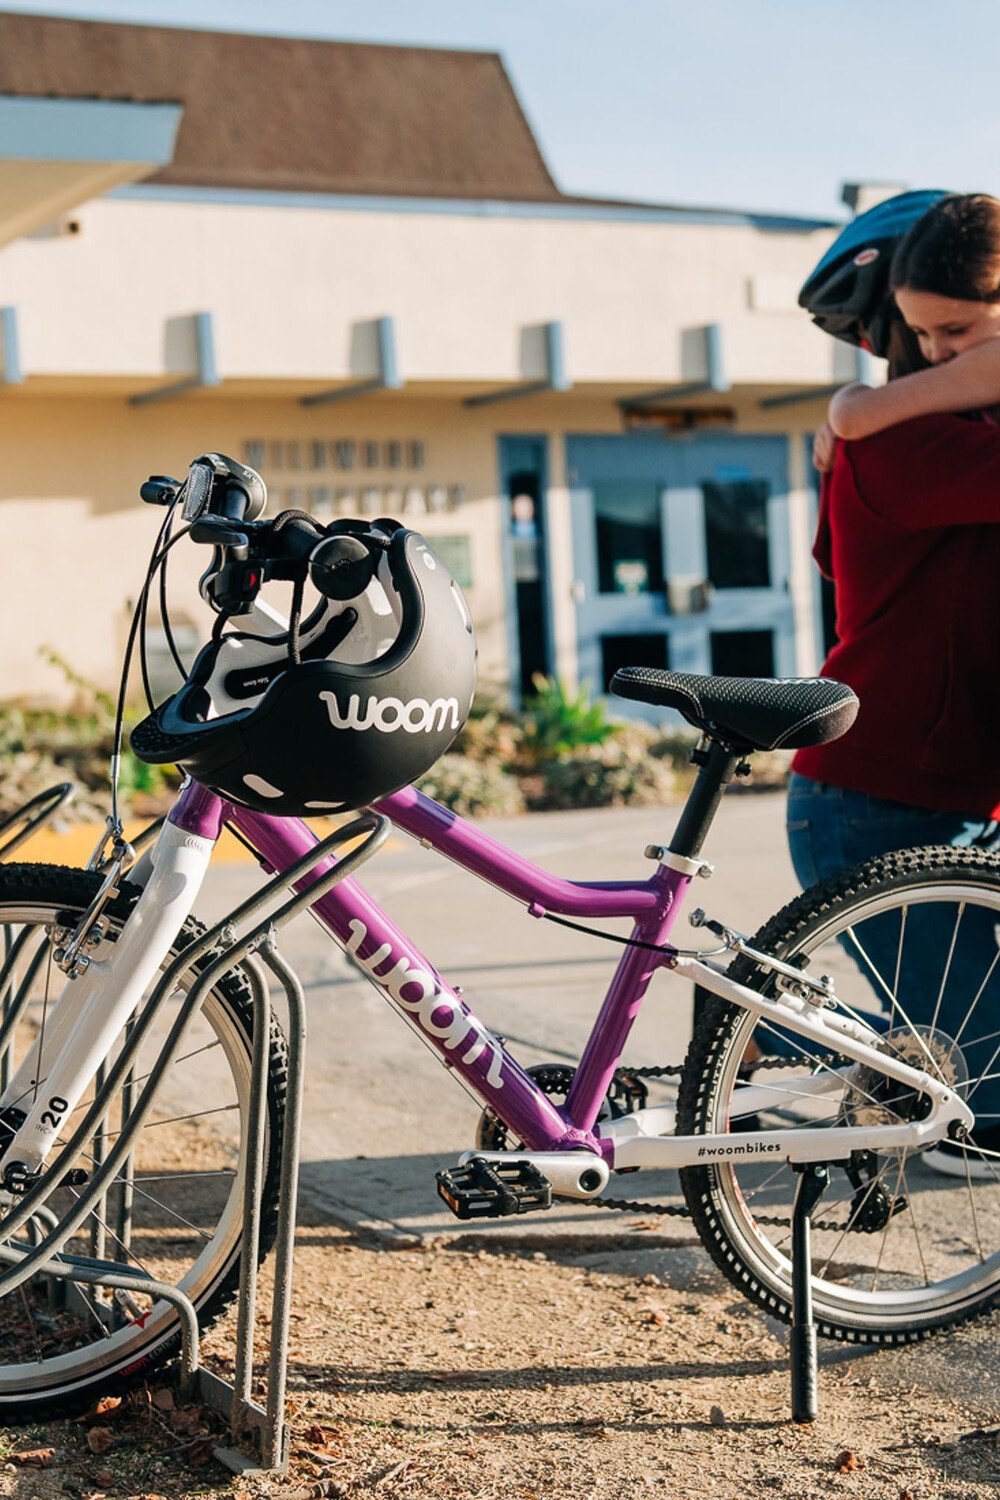
Take note: Your child should always wear a well-fitting helmet. As our award-winning KIDS Helmet has been specially developed for children, you can depend on it for a good fit. With extended coverage and a slew of safety features across the design, it provides comfy, all-round protection for young riders.
Other than the helmet, the following pieces of essential equipment should be on your list: suitable cycling gloves and closed-toe shoes with grippy soles.
Elbow and knee protectors are a sensible addition for beginners, too.
Step 1: Let's get on the pedals!
Before heading out for the first practice session, make the most of your child's curiosity to explain how their bike functions and what the most important components are. Trust us, it's fascinating – and it'll make it all seem simpler and much more real.
Step 2: You're riding!
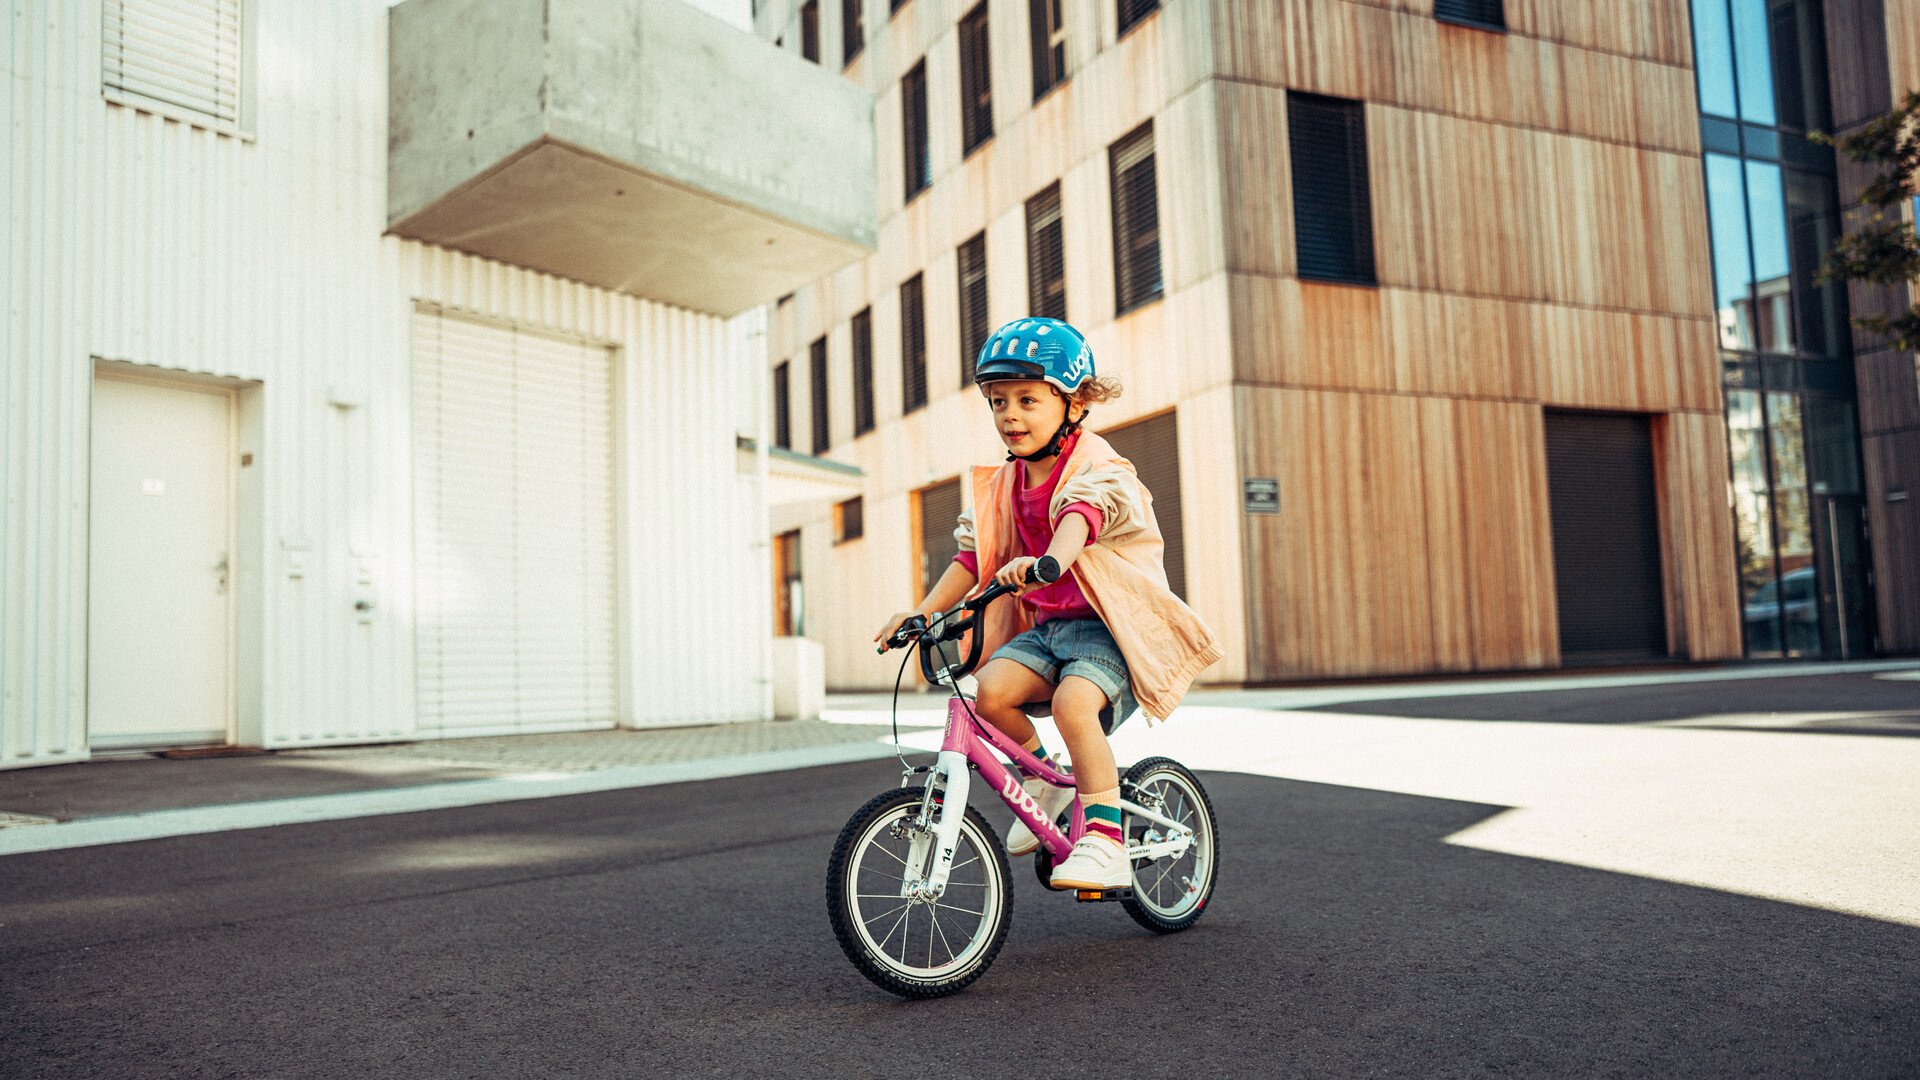
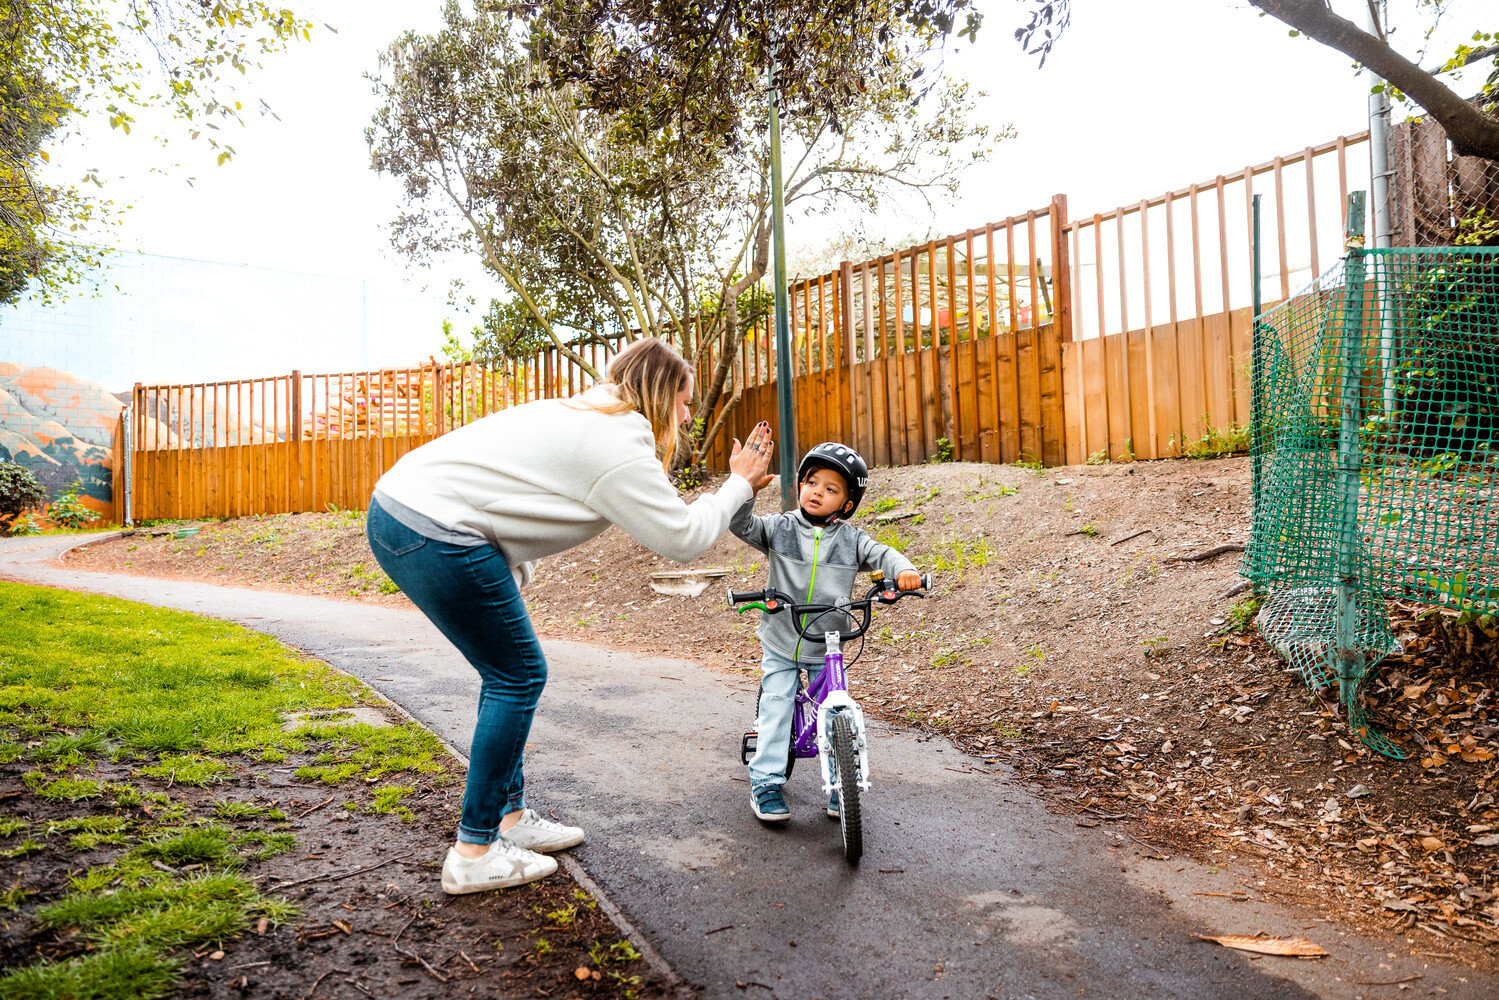
Now the magic is about to happen! Your child needs to feel how their actions are making the bike move forward so make sure you're only providing some light support to their shoulders or the saddle.
Step 3: Be reassuring
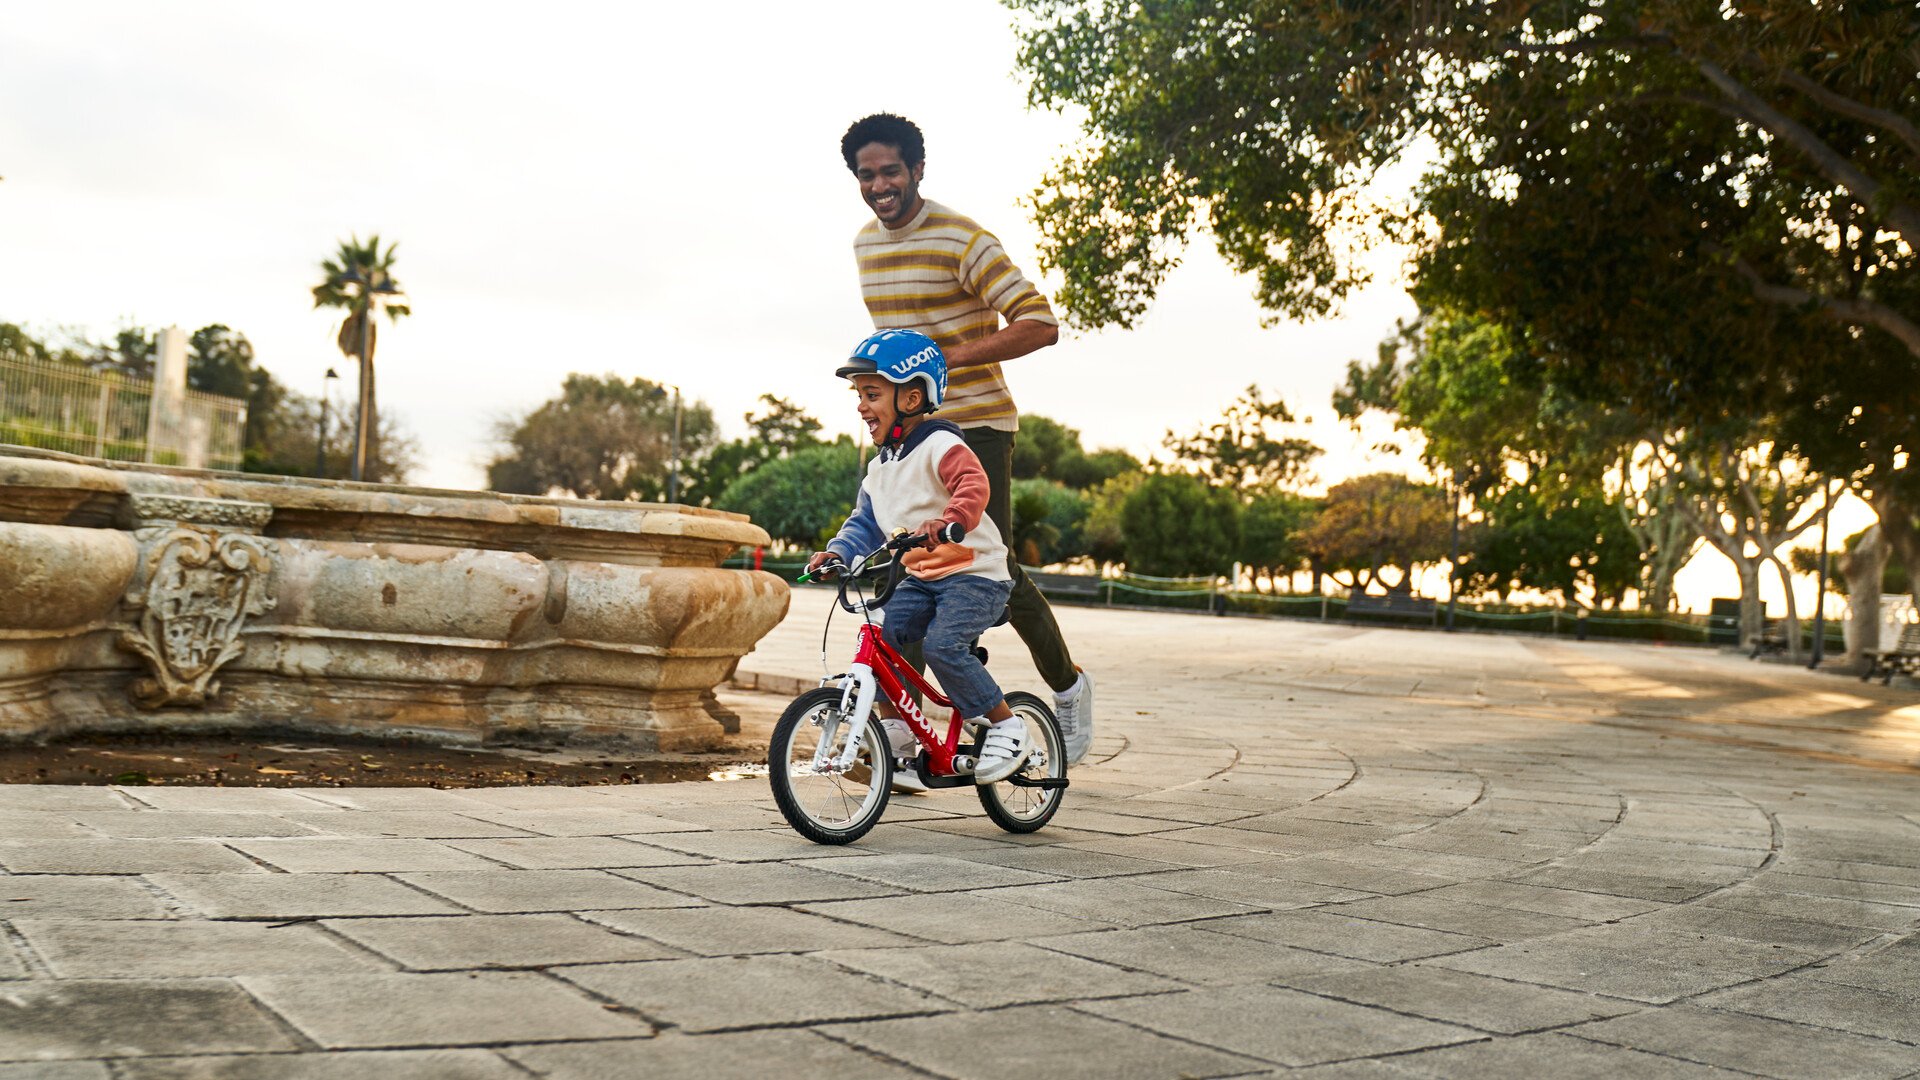
Jog alongside the child each time they start, so that you're able to help stop the bike or prevent an incident if necessary.
After a few smooth goes, encourage the use of brakes.
By instinct, kids will tend to use their feet to come to a stop. Now is the perfect opportunity to introduce the green brake lever in a playful way. It needs to go in this order: Pull the lever, then drop the feet!
Step 4: Setting off solo
The final step for children on the path to independent cycling is learning to set off on their own. This is an easy skill for them to learn—providing you keep a few things in mind.


