Tires, Tubes, Flats: Everything You Need to Know!
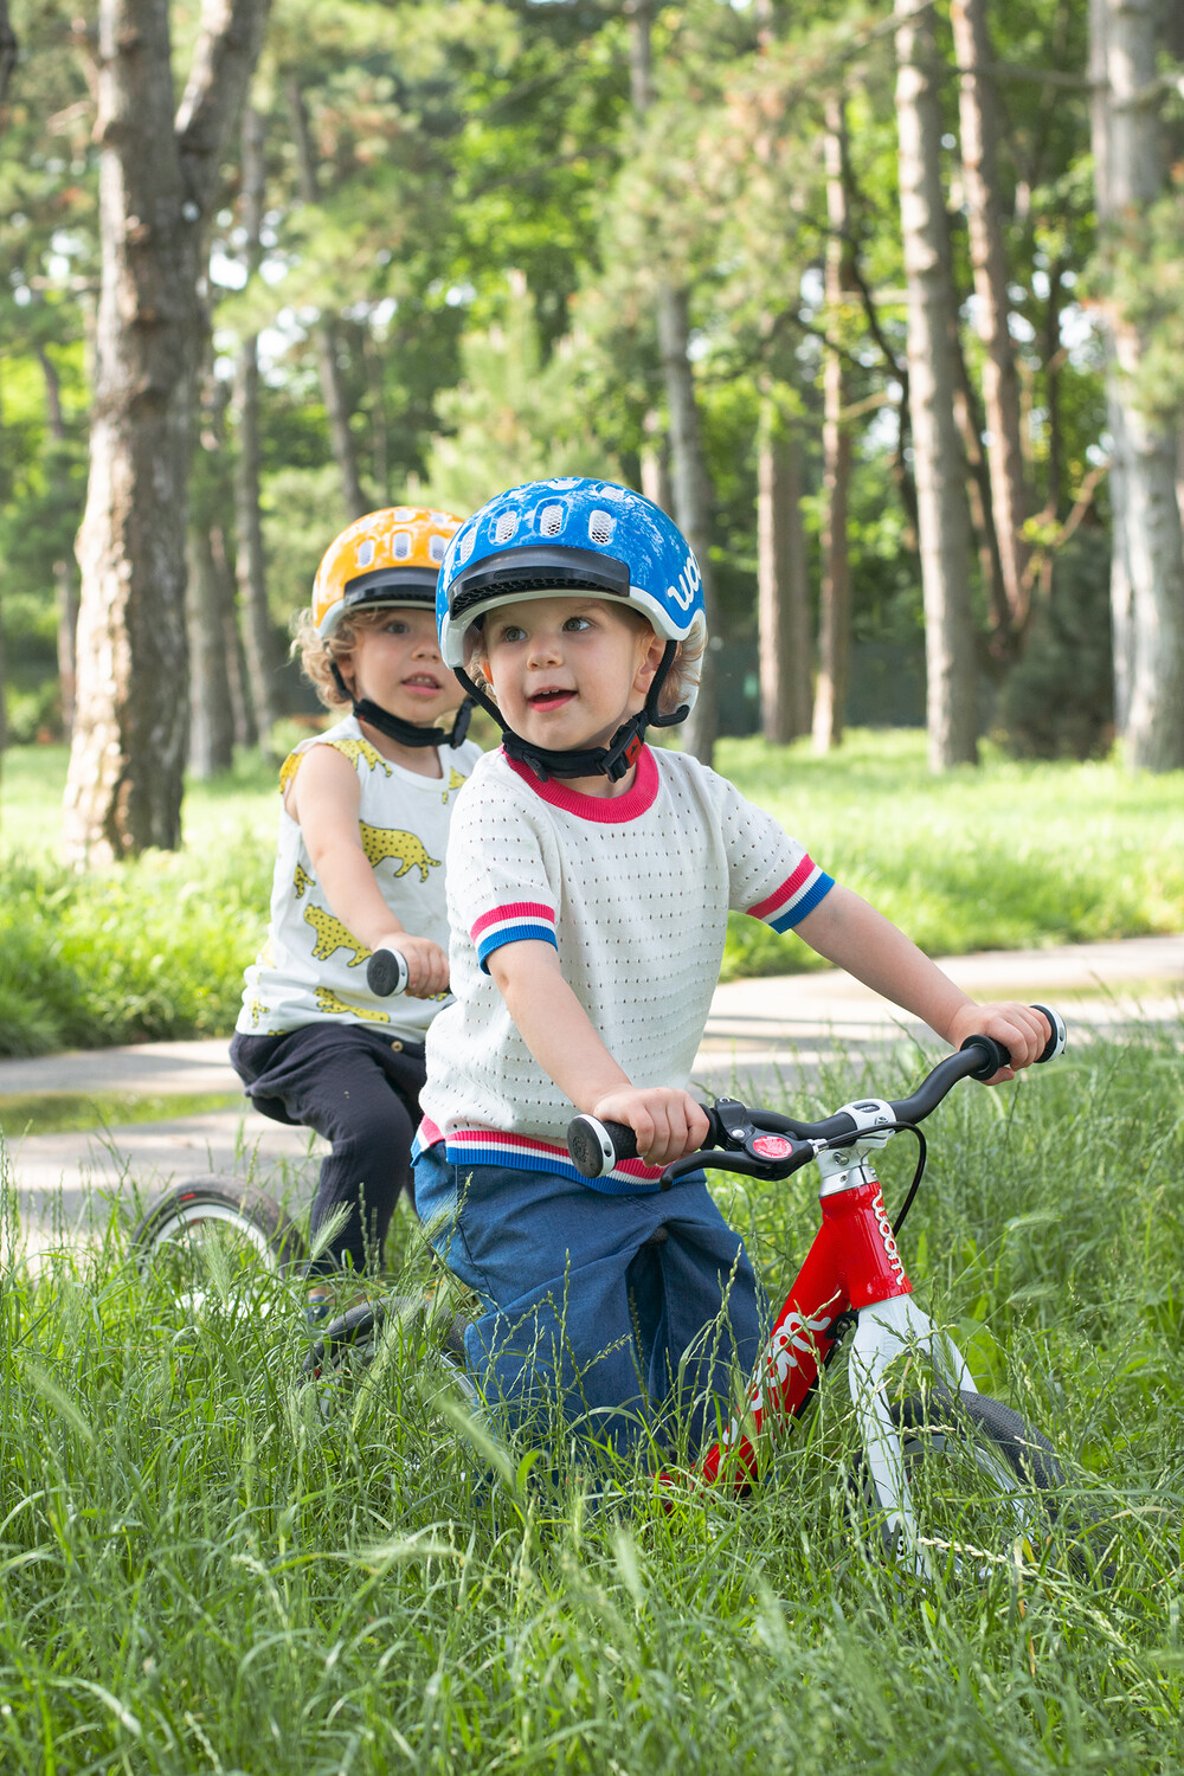
It’s a beautiful sunny day, and you and your child are out on a bike ride. Smiles abound. Laughter fills the air. Life couldn’t get much better. But then all that fun comes to a screeching halt. A thorn picked up on the side of the trail has resulted in a flat tire. Now pedaling is replaced with a long slow walk as you carry your kid’s now non-functioning bike back to the house. That great day on the bike quickly becomes a distant memory. It didn’t have to end this way. While the occasional flat tire is unavoidable, that long walk back home is not. With the right skills and tools to fix the problem, you’ll be back to pedaling in no time!
That’s why this is one of our more practical posts. We’ll walk you through the different types of flats, what you can do to prevent them, and how you can be better prepared. By the end, you’ll be a virtuoso of all things tires, and more importantly, a smarter bike owner who knows how to better prevent flat tires (and the associated headaches) before they happen.
Tech Talk
To better understand how flat tires happen — and how you can prevent them — it helps to know how a bike’s tire works, which is often misunderstood.
All woom bikes are outfitted with standard tube/tire combinations mounted on aluminum rims. The tube, which is made of rubber and resides inside your tire, inflates (or deflates) via pneumatic (air) pressure. The tire serves as protection for the tube, preventing damage or puncture most of the time.
Tire and tube both sit on your wheel’s rim, the tire’s sidewall nesting snuggly against the rim. Air pressure (typically referred to in units of PSI, i.e. pounds per square inch of pressure) is the amount of air inside the tube. A properly inflated tube helps the tire hold its shape. It’s important to remember that, in this example, the tube holds air, not the tire. (There are also many tubeless tire options, especially for adult bikes. But we’ll save that conversation for another day). Information on the best PSI for your woom bike can be found here.
The tube itself is essentially a donut-shaped rubber balloon with a valve for inflation. If a tube is inflated outside a tire, it will expand to two to three times its size. The most important thing you need to remember is that tubes come in various sizes; thus, you need to make sure you have the right size tubes for you and your child’s bike.
Tires, on the other hand, are far more complex, with literally thousands of options available, including road bike tires, commuter tires, mountain bike tires, and even studded tires for riding on icy surfaces. Each of these categories includes myriad sizes, typically noted as 700c, 650b, 29er, 27.5, and/or 26 inches.
For kid’s bikes, size options include 12, 14, 16, 20, 24, and 26 inches. Within all these diameter sizes, there are also width options that range from as narrow as 21 mm for adult road racing bikes to a full five inches wide for snowbound fat bikes.
Picking the right tire for your needs starts with assuring you’re getting the right size for your bike’s wheels and then determining what type of tread you need, which is primarily governed by the terrain you plan to ride on.
If the answer is commuting to school or cruising on the local bike path, a basic road or commuter tire will suffice. These have minimal tread, which enhances rolling efficiency. But if you’re planning to tackle the local single-track trails, you’ll need a tire with a more toothy traction-enhancing tread. Of course, all woom bikes are equipped with the appropriately sized tubes and tires, making it easy to find the appropriate replacement if and when that time comes.
Types of Flat Tires and How to Prevent Them
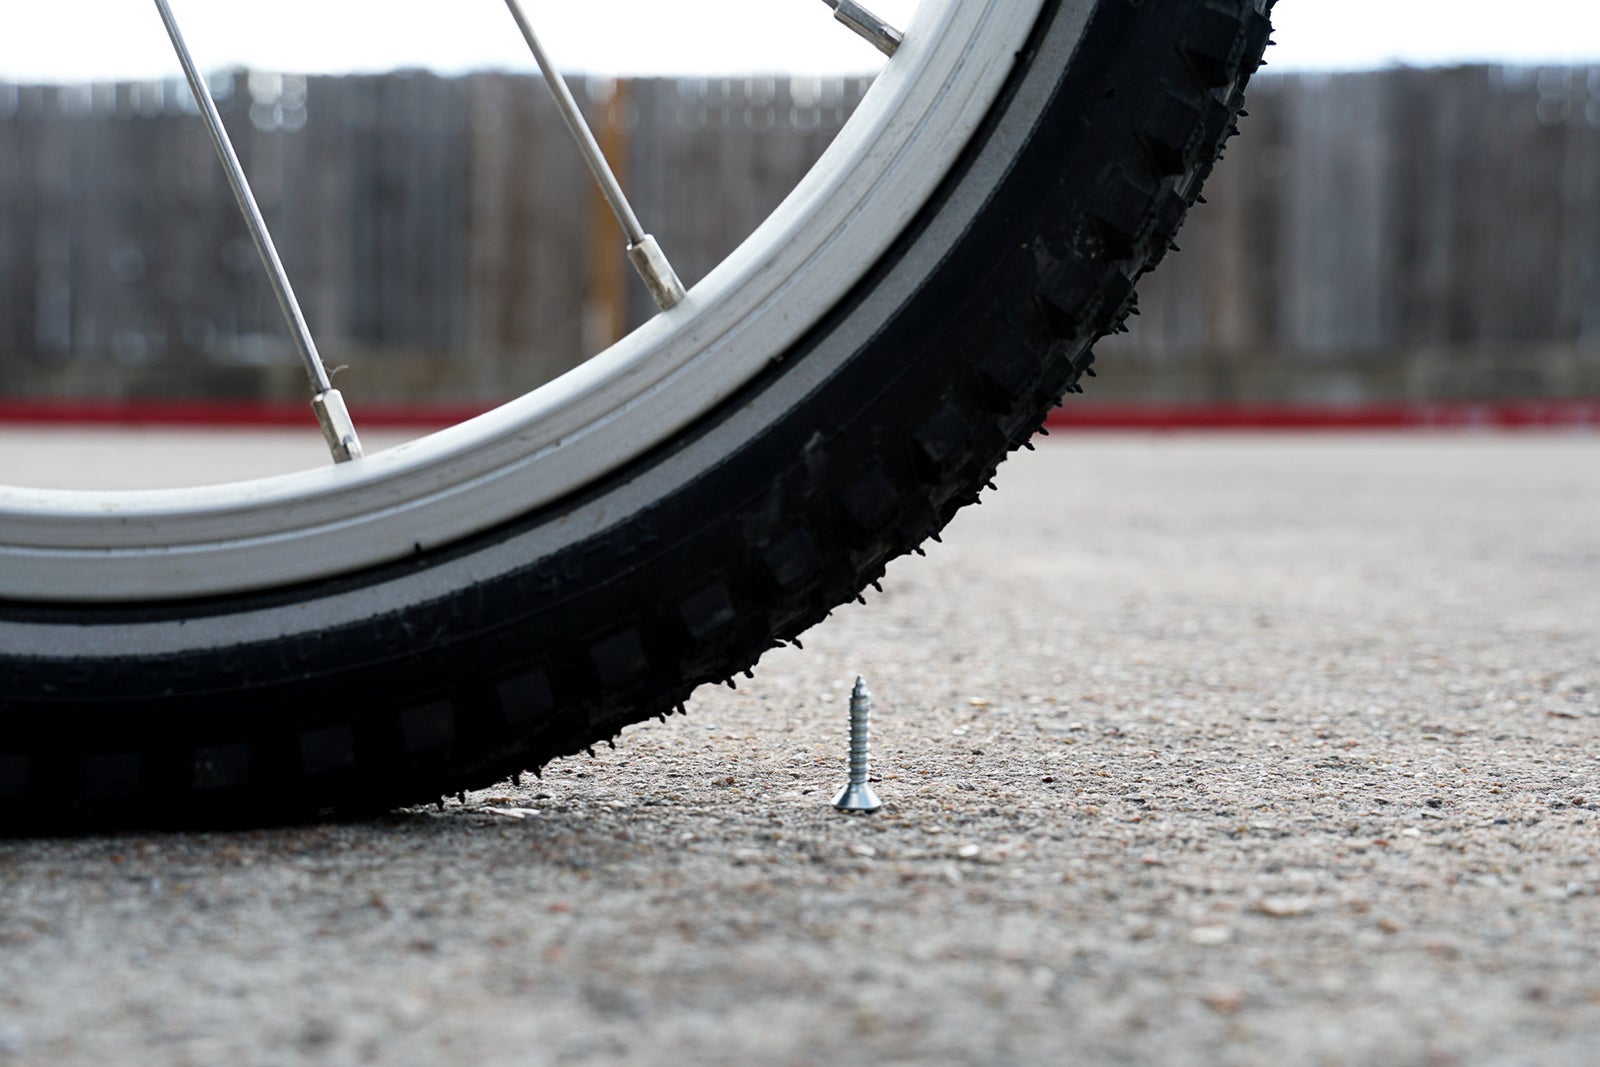
Though you might think all flat tires are the same, there are actually some notable differences. This list of culprits most frequently includes puncture by a sharp object, failure of or damage to inflation valve, overinflation, pinch flat, tire or tube wear, and severe road/trail hazards such as potholes or rocks.
Some causes are fairly self-explanatory. If you run over a piece of glass or a nail, a flat tire is fairly likely. The same goes for smashing into a giant pothole or plowing over a sharp rock at high speed. Your best bet for avoiding a flat in all these cases is obstacle avoidance. Steer around that broken soda bottle in the street. Pick a cleaner line through the gnarly rock garden.
Nonetheless, no matter how or where you ride, flat tires still happen. Proper tire inflation and occasional equipment inspection are arguably your best bets for avoiding flat tires. Like your automobile, all bike tires have a recommended inflation range, which is typically printed on the tire’s sidewall and included in the set-up instructions. Heed this advice, and you’ll avoid blowouts from overinflation and pinch flats from putting too little air in, which can allow the tube to slip between the tire and rim, resulting in an aptly named “snake bite” puncture where there are two holes on corresponding sides of the tube.
Before every ride, check tire pressure to make sure it’s within the proper range. Use a gauge that tells you how much air pressure is in your tire and whether you need to add or remove air. Checking for excessive tire wear is also vitally important. Worn-out tires are more susceptible to puncture and should be replaced. Also, make sure there are no embedded objects in your tires. A thorn that’s just barely stuck into your tire now could soon penetrate far enough to relieve your tube of its precious air.
How to Fix a Flat
Whether at home or out on a ride, the steps for changing a flat tire are essentially the same. But before diving into those steps, it’s critical to remember that you can’t change a flat if you don’t have the right tools for the job. That means that on any ride beside a short neighborhood cruise, you should carry a set of tire levers, a mini-pump, and a spare tube or patch kit, all of which can be stuffed into a backpack, frame bag, or saddlebag. If you plan on riding further than a few miles, it’s a good idea to always have these items, to avoid a lengthy stroll back home or to a bike shop.
The AMIKO Active Bag is a great option for stowing small items and can be attached to the handlebar or worn around the waist. Wherever you stash them, always be sure you have the right size spare tubes, as that 29-inch tube for your adult mountain bike won’t be much good in your kid’s 20-inch tire.
When it comes time to fix a flat, start by taking the wheel off the bike. If your bike has disc brakes (such as on the woom OFF AIR), you’ll just need to undo the quick release or unscrew the thru-axle. For bikes with rim brakes, you’ll first need to release the brake, which is achieved by squeezing the brake arms together to release the tension on the brake cable. Now you can release the cable and slip the wheel out.
Next, remove the damaged tube. To do this, first completely deflate the tube, then remove one edge of the tire bead from the rim by pressing on the bead of the tire or using a tire lever to pop the bead off the rim. Now pull out the tube and inspect for damage, trying to assess what caused the puncture. Always try to establish the cause before installing a new tube so that the new tube doesn’t meet the same fate. Also, make sure to examine the tire and inside of the rim, looking for (and removing) any flat-causing objects such as thorns or glass shards. (Just be careful not to cut your fingers in the process, which is why riding gloves are always a good idea.)
Once you’ve removed the tube, you can either replace it with a new one or repair the damaged tube. When out riding, most people will simply install a spare. To make this process a little easier, inflate the tube slightly to give it some shape, then insert it into the tire. You may choose to repair the old tube using a patch kit at home, which will include all necessary instructions.
Once you have a new (or repaired tube in place), install the tire bead back over the rim using tire levers, being sure not to pinch the tube on the rim under the tire. Next, inflate slowly at first to set the bead and ensure proper installation. The sound of the tire bead popping into place is normal. Just make sure the tire is even relative to the rim. Check this by rotating the wheel and assuring it spins true with no bias. Lastly, reinstall the wheel and, if applicable, the brake cable.
Finally, make sure to check that the quick release is tight, the wheel spins true, the brakes are aligned, and the wheel is installed in the proper direction by checking the directional arrow printed on the tire’s sidewall. You can also look at the tread pattern of the other tire on your bike to be sure the one you’re putting on is pointing in the same direction. If everything looks good, you’re ready to get back on your bike with your Rider!


Need more air? Our AIRFLO pump makes pumping up tires easier than ever before.

The unsung hero of bike tools, tire levers are an important piece in any bike rider's kit! Used for changing a tube or removing a tire from a rim, these levers are made of strong molded plastic composite so you will never have to worry about them breaking.