Feet on the pedals: learn to ride in 15 minutes

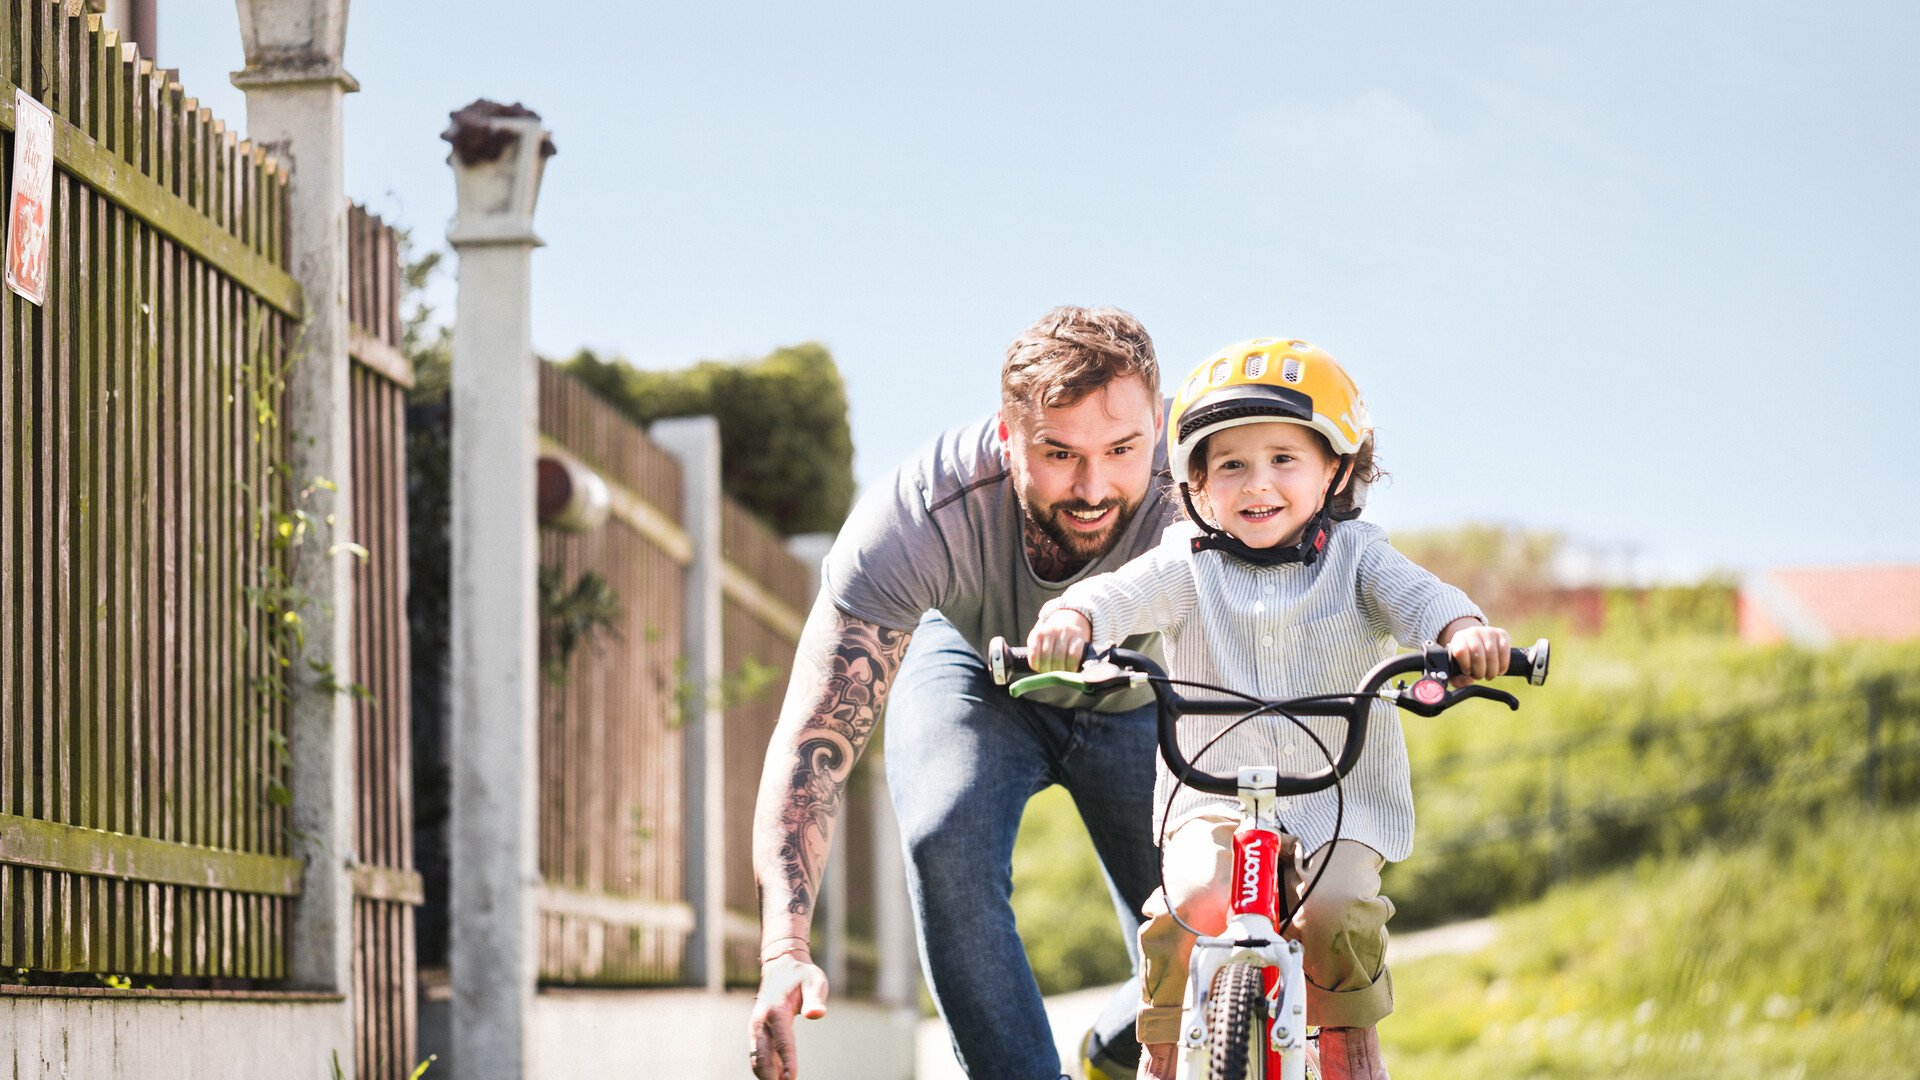
Now it's time to push the pedals. The first step from a balance bike to a pedal bike is smaller than it might initially seem. If children have successfully learned to keep their balance on the balance bike then the switch to a pedal bike really is easy. And even if they haven't, they will still learn to ride! It is important to show children the connection between the cranks and the wheels so that they know how pedaling makes them move forward. Once they have understood that, show them how the brake works. Usually it takes just a few turns of the pedals for children to comprehend the principle behind riding a bike and want to have a go themselves. With a parent's hands on their shoulders for support, and with their eyes straight ahead, they can make their first attempts while remembering to practice applying the brakes. The front brake and the rear brake are different colors so that kids don't get them mixed up.
Step 1: pushing the pedals
Before heading out for the first practice session, it is a good idea to use the child's curiosity about riding a bike to explain the most important functions. Once they have understood how riding a bike works in theory it will be a lot easier for them to ride in practice. The learning process is also easier if children already know how to ride a balance bike. Don't forget that children should wear a helmet and gloves at all times.
#1: Show the child how the rear wheel moves when the crank rotates; simply lift the bike into the air and turn the pedals as fast as possible with your hand. You can then use the brake to stop the wheel spinning.
#2: The saddle height should be set so that the child can easily reach the ground with both feet when sitting on the saddle; the heels should be the only part of the feet slightly off the ground.
#3: Support the child during their first attempts by holding their shoulders or the saddle of the bike. Make sure you don't hold on too tight – and don't use stabiliser wheels. Children will learn to keep their balance automatically, especially once they pick up a bit of speed.
Step 2: riding the bike
The big moment has almost arrived! Even if a child still needs a little support, it is important that they can feel that they are propelling themselves forwards by turning the pedals.
#1: As soon as children can turn the pedals themselves, parents can take their hands away for a few moments and then gradually let the child ride independently for longer.
#2: The best place to learn is on a gentle downhill slope with plenty of space and no obstacles such as curbs.
Step 3: braking and stopping
On the first few meters it is important to run alongside the child to stop the bike gently or prevent an accident if necessary. After a few attempts the child can try using the brakes on their own.
Children intuitively brake using their feet, so it is important to show them how to use the green hand-operated brake as early as possible in a fun and playful way. Apply the brake first, then put your feet down on the ground – that's the best way to bring the bike to a stop!
Step 4: setting off on your own
The final step for children on the path to independent cycling is learning to set off on their own. This is an easy skill for them to learn if you keep a few things in mind.
#1: Every child has a dominant leg – do they prefer kicking a football with their left or right foot? This is the leg which should be used to push on the pedal when setting off. The pedal should be placed at around one o'clock. Sit down on the saddle, rotate the crank into the right position, put your foot on the pedal, press down and push off from the ground with the other foot.
#2: Alternatively, children can set off in the familiar way like they would on a balance bike: roll away and, when they have picked up enough speed, move their feet up onto the pedals.

