Thanks for choosing woom!
We look forward to showing you how to set up your woom NOW and prepare for your first ride on it!
In this video, you'll find comprehensive instructions on assembling your woom NOW.
You can find more information in our service and help area.
Have more questions about assembly or use?
FAQs
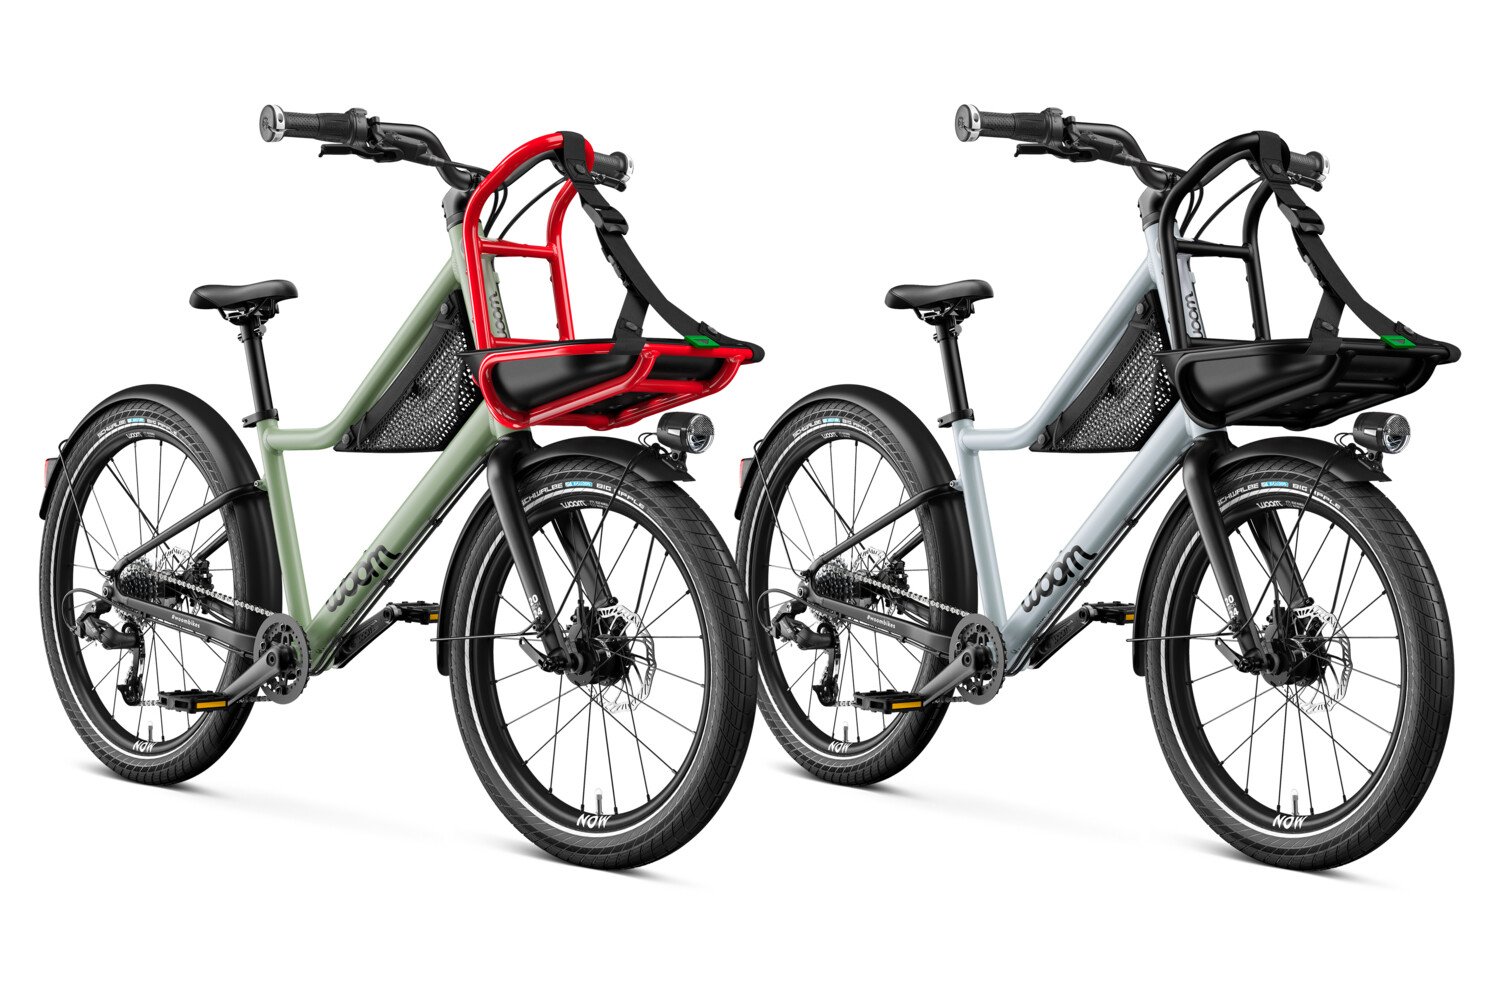
The woom NOW has been designed for urban settings and is not suitable for rugged off-road or trail riding. Please refer to the instructions for use for more information on this. With its integrated lights, cargo rack, full-coverage fenders and wide balloon tires, the woom NOW is optimized for practical city riding.
The following accessories all come standard with the woom NOW:
- Front rack with built-in straps
- Fenders
- Dynamo hub
- Integrated front and rear light with built-in reflectors
- Kickstand
- Twist-grip bell
- Frame bag
There are threaded holes for attaching the frame bag on the bottom of the top tube and the top of the down tube. Two further threaded holes are provided on the top of the down tube near the bottom bracket for attaching a bottle cage.
It is also possible to attach two additional items (such as a bottle cage or a bike lock bracket) onto the back of the front rack, using the two mounts found on either side.
The cage for our GLUG Stainless Steel Bottle can be fitted on the top of the down tube near the bottom bracket or on either side of the back of the front rack - you could fit a total of three of them! In addition to the front rack, you can also fit the PICKUP Rack at the rear of the woom NOW.
While hydraulic disc brakes offer exceptional braking power with minimal force and are easy to modulate, they require some time to reach their optimal performance levels. This period of breaking in the brakes is called 'bedding in' the brakes, and is a necessary process with new bikes. Bedding them in ensures that the disc brake rotor and brake pads will work properly together. Find a safe, traffic-free location, ideally slightly downhill and follow these steps:
1. Accelerate the bike.
2. Alternate between the front and rear brake, using a decent amount of force until the bike comes to a stop.
3. After you have repeated the first two steps a few times, you'll notice a significant improvement in the braking performance.
4. You will know when the brakes are bedded in because there will be no further increase in braking performance. Any loud squealing of the brakes should subside, as well.
Luckily that’s an easy fix!
This issue can be resolved by adjusting the P-clamps on the fender stays. All you need to do is loosen the left and right bolts in the stay clamp (near the wheel axle) and adjust the left and right stays so there is at least 6 mm between the tire and the fender. Once you are happy with its alignment, re-tighten the two bolts in the stay clamp.
Another potential source of friction is the kickstand. Whether the kickstand is rubbing against the rear tire, or colliding with the left crank arm, either situation can be resolved fairly easily. If the kickstand is contacting either the tire or the crank, you’ll need an 8 mm hex key. First, reposition the kickstand and tighten the bolt, then double-check that the kickstand is no longer in the way.
If you're still are unable to resolve your issue, feel free to reach out to our CX team.
If the front or rear light on your woom NOW stops working, follow these steps:
1. Check that the light is on. You'll find the on/off switch on the back of the front light.
2. Check that the dynamo hub connector is plugged in.
3. Check that the cables between the plug and the dynamo hub are properly connected to the dynamo hub connector.
4. To do this, open the gray plug in the wheel hub and pull the cables out of the two-prong plug. Twist the ends of the cables and feed them back through the holes in the plug. Bend the cables into the two grooves to make sure contact can be made once the plug has been plugged in.
5. Check that there is no damage to the cables between the plug and the dynamo hub, and between the rear light and the cable duct on the fender.
6. You can also check that the cables running from the cable duct on the fender to the rear light are connected properly in the rear light plug. This step involves removing the wheel and rear light, however, so we would only recommend doing this if you’re a handy bike mechanic.
7. If the problem hasn't been resolved after following all these steps, you can replace the broken light with a new one (or ask a bike mechanic to do this for you).
If you’re still are unable to resolve your issue, feel free to reach out to our CX team.
Yes!
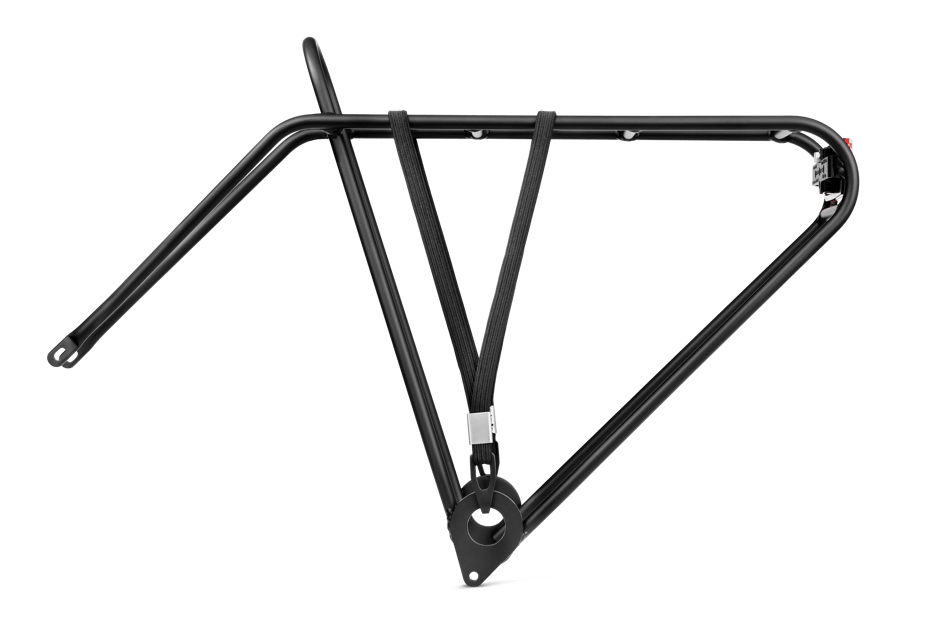
Not only does the woom NOW come standard with its own front cargo rack, but you also add the rear PICKUP Rack for even more cargo-carrying potential. Use the same sizing convention as on our ORIGINAL bikes line-up to select the right rack for your woom NOW (i.e. a woom 4 PICKUP Rack fits on a woom NOW 4, etc).
It is important to use the longer silver bolts that come with the PICKUP Rack, not the shorter black bolts that come in the fender mount eyelets on the woom NOW.
Although the PICKUP Rack can be mounted without taking off the rear fender, it is admittedly a tight fit. Because of this, we recommend taking the woom NOW to a bike shop for this upgrade.