Check your bike in 6 steps
We're going to outline how to keep your woom bike in tip-top condition, including a list of which parts to check at regular intervals so your child will always be safe on their bike.
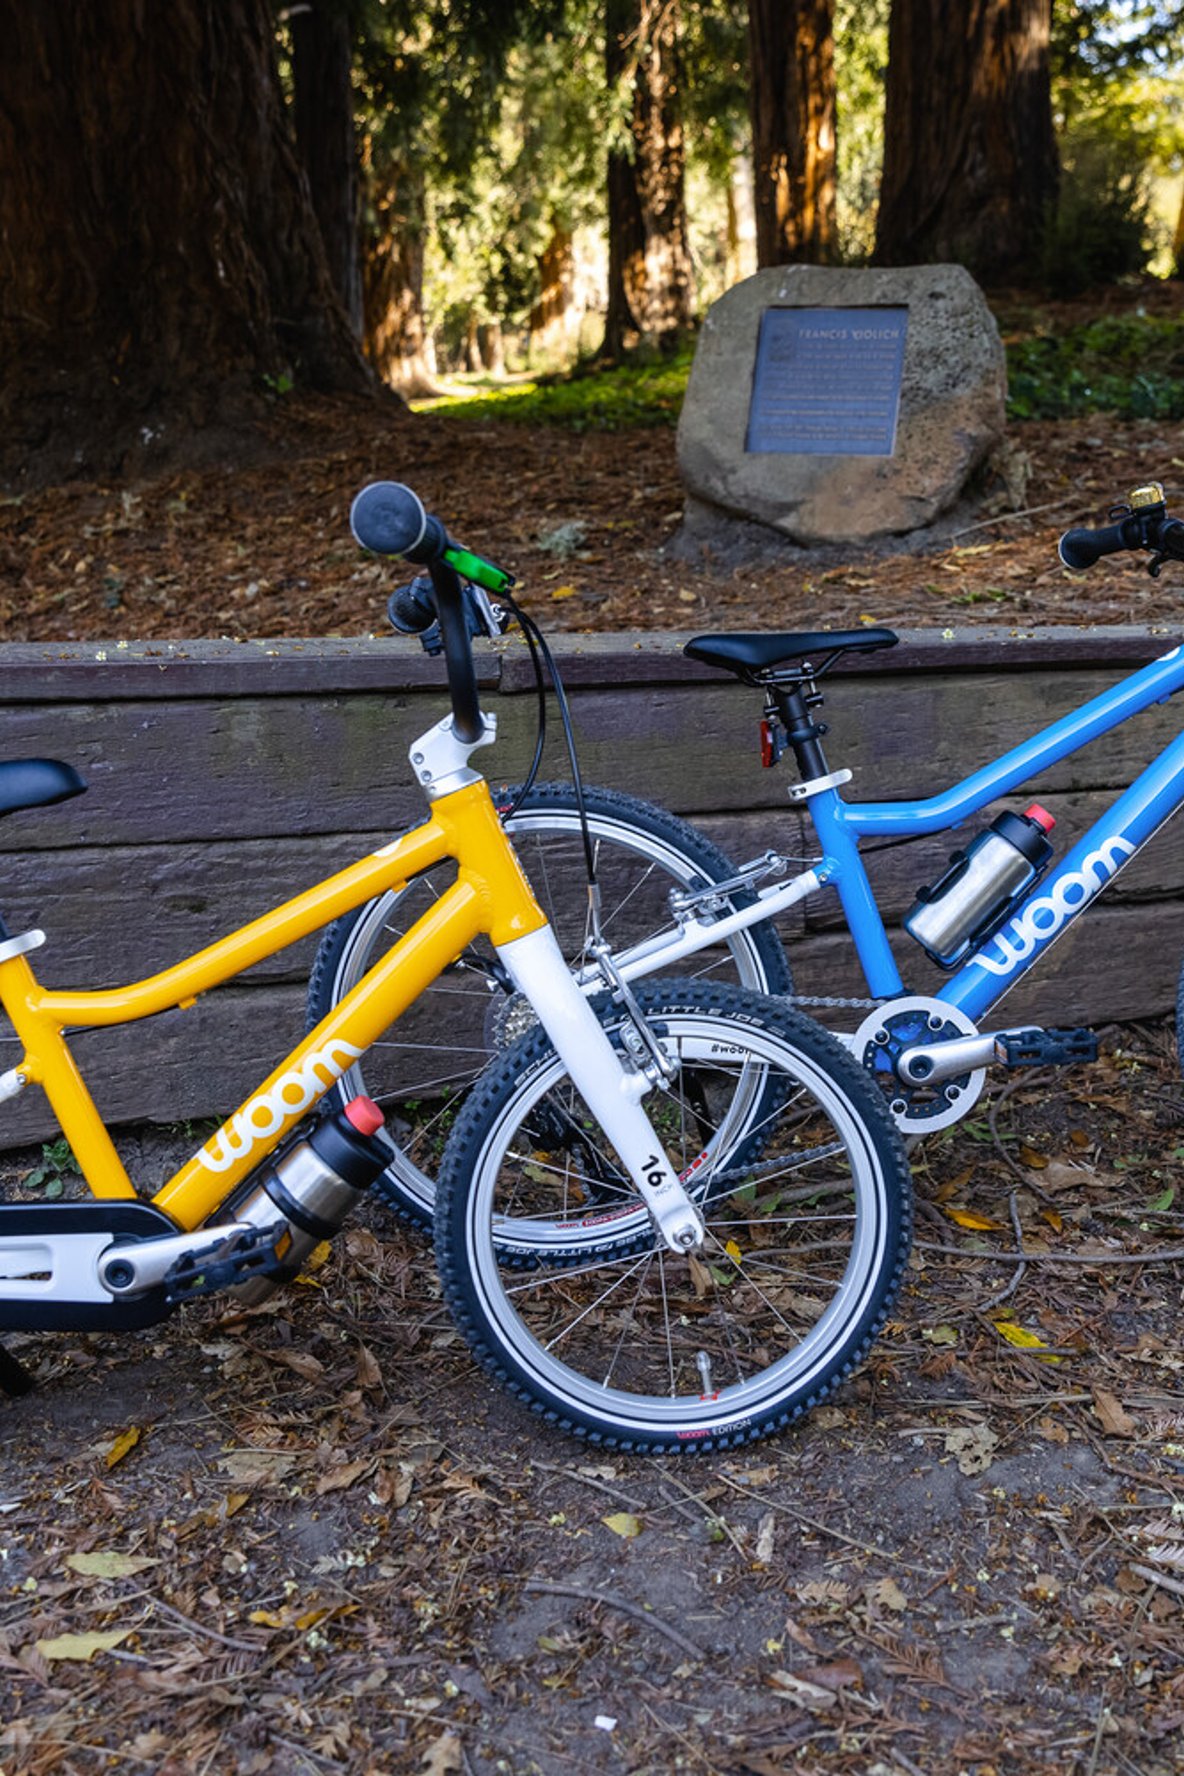
With cycling season already well underway, now's the time to be getting your child's beloved bike ready for lots of exciting new adventures. We're here to help you get that woom bike out of hibernation and ready to go, with tips on what you need to look out for and which parts you'll need to check over again at regular intervals during the peak cycling season.
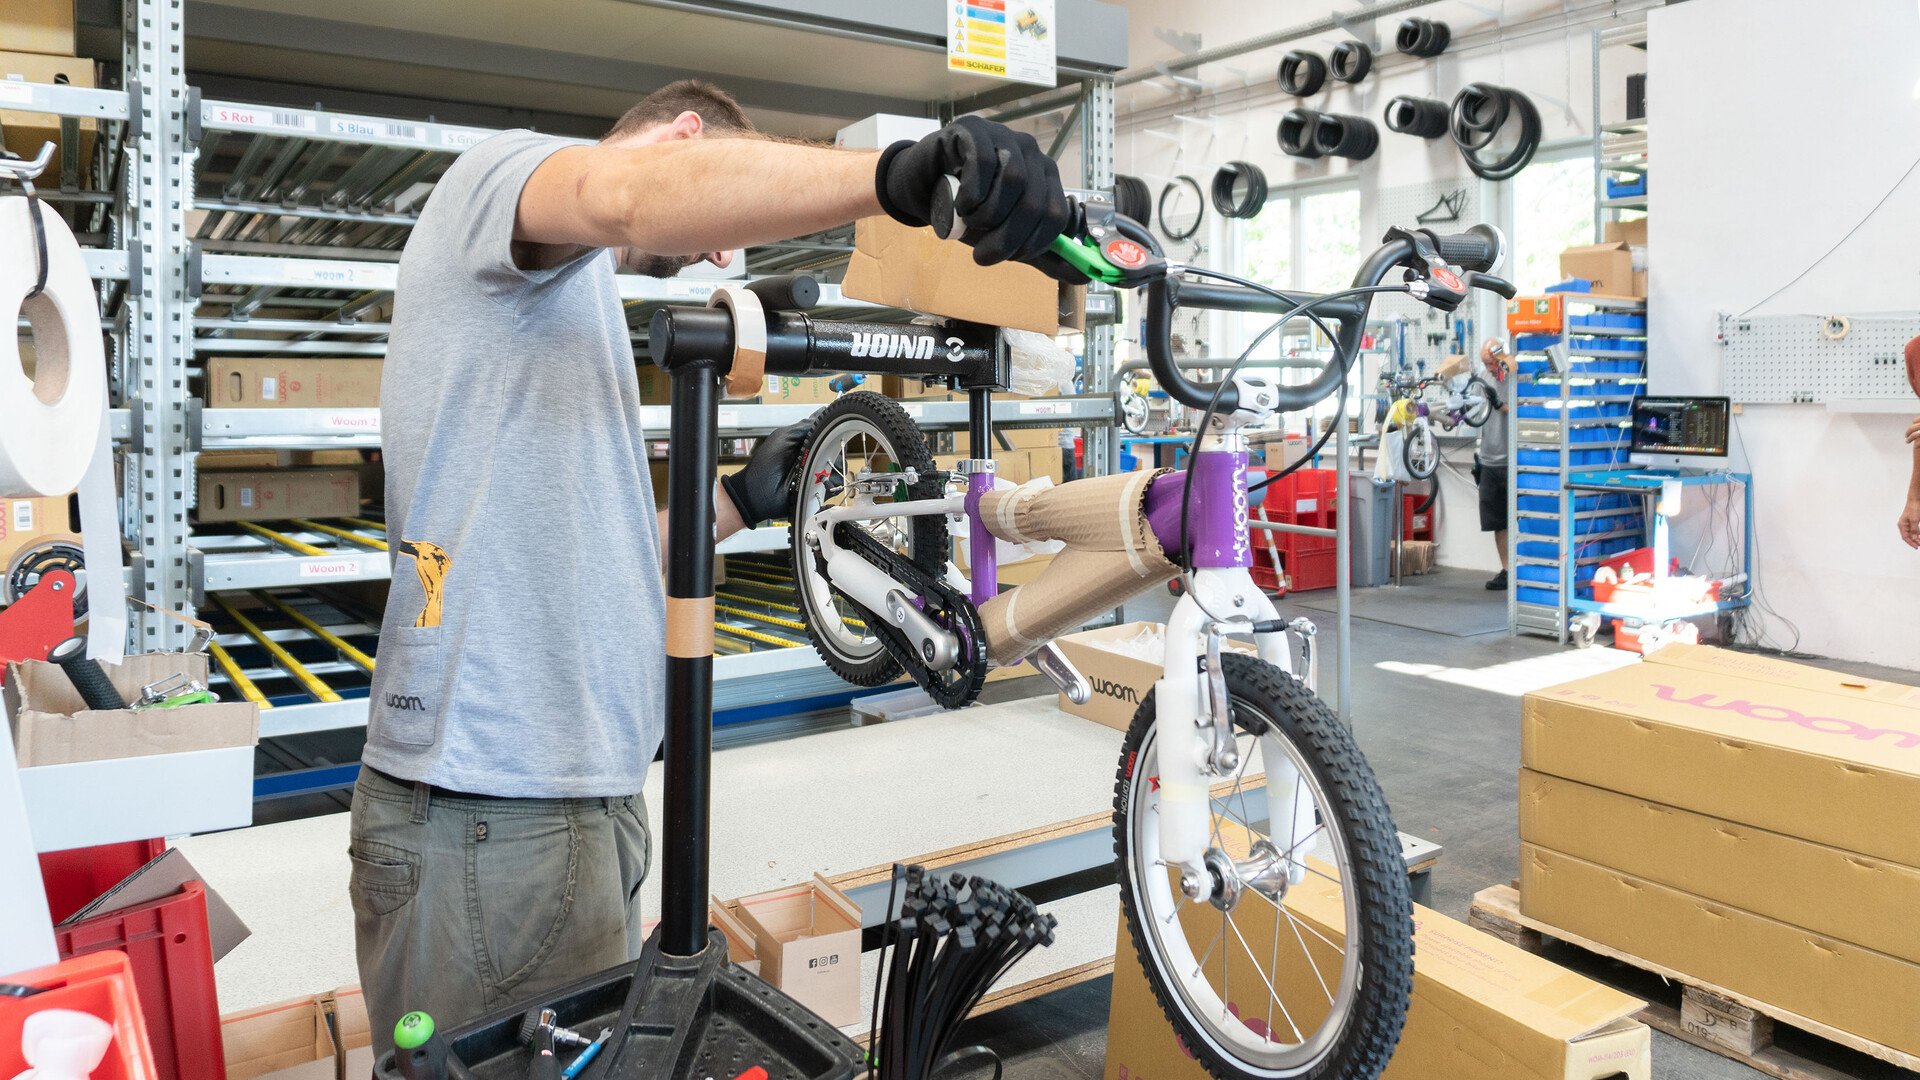
First of all, let's talk safety. It's unlikely that your child will be able to recognize an issue on their bike before it becomes an issue. And we have no doubt that you'll be keen to keep your child's woom bike in perfect working order so you know that they will be safe whenever they're cycling. Simply check the bike over at regular intervals and have it serviced by a specialist when necessary. You can find the recommended maintenance intervals in the instruction manual for your woom bike.
Step 1: Cleaning the frame
The benefits of cleaning the bike first are that not only will your child have a great time riding a bike that is so clean that it sparkles, you'll also be able to spot any potential defects. Just don't use a jet wash or high-pressure hose as there is a risk of water getting in the bearings.
Use a cloth, sponge and a little bit of mild detergent. You can also use an old toothbrush to get into the hard-to-reach areas, such as the brake pads. Rinse everything with water and dry the bike off gently with a dry cloth to really make it shine.
When washing your e-bike, you need to remove the battery first. Any additional displays should either be removed or covered. You can use a damp cloth to wipe down the battery and battery mount, just make sure you dry them well afterwards. Check all the electronic ports are shiny and clean. Give them a delicate wipe to remove any dust or dirt if necessary.
Step 2: Cleaning and oiling the chain
Dampness and/or road salt can cause bike chains to rust. But don't fret: chain oil will solve this!
Just because the weather is better during the summer does not mean that your chain needs any less maintenance – it will benefit from regular cleaning and oiling throughout the year.
Wrap the chain with a dry cloth loosely held in your hand and run the chain through a few times to remove any old grease and dirt. Apply an even coating of chain oil over the chain and use a cloth to mop up any excess oil.
You'll find that the chain on our woom ORIGINAL 2 and woom ORIGINAL 3 bikes have extremely effective protection against dirt and the effects of the weather in the form of a chainguard, but you should still check every now and then to make sure that the chain isn't dirty and/or in need of oil.
When it comes to topping up the chain's lubrication, you'll just need to remove the front and rear plastic parts of the chainguard. Let us show you how it's done in this video. Then you can add a few drops of lubricating grease from above – preferably in the lower chain strand – so they run in the gap between the Chainlooper clip and the inner part.
Step 3: Tightening screws, bolts and quick-releases
Even if a bike appears to be in perfect working order, it's important to check it over at least once a month to make sure that all the bolts are securely fastened and/or that the quick-release skewers are tight enough. The following bolted connections on a bike are absolutely essential in guaranteeing a safe ride:
1. The individual steering components (handlebars, stem and headset) must be securely connected to one another.
- Then check the clamp bolts that connect the bars to the steerer tube. If this comes apart, it'll be impossible to steer.
- Check the hexagon socket bolts that attach the bars to the stem and tighten them to the recommended torque if needed – you want the bars to be securely held inside the stem.
2. The wheels need to be straight and secure in the frame and fork. Depending on what woom model you've got, tighten the quick-releases by hand or use an appropriate hex key to tighten the axle bolts.
Important: The quick-release lever should NEVER be facing forwards, as it could get caught on branches or other items in the way.
3. Don't forget to check the pedals too – they may well need tightening up (after every 100 miles cycled at least). You tighten these using the hexagon socket bolt on the inside of the cranks. The left pedal tightens clockwise, and loosens anti-clockwise. The right pedal works the opposite way: go counter-clockwise to tighten it and clockwise to loosen it.
4. Make sure that the seatpost clamp is nice and tight. Depending on your woom model, the seatpost clamp can be adjusted by using a hex key on the clamp bolt, or simply by opening the quick-release by hand.
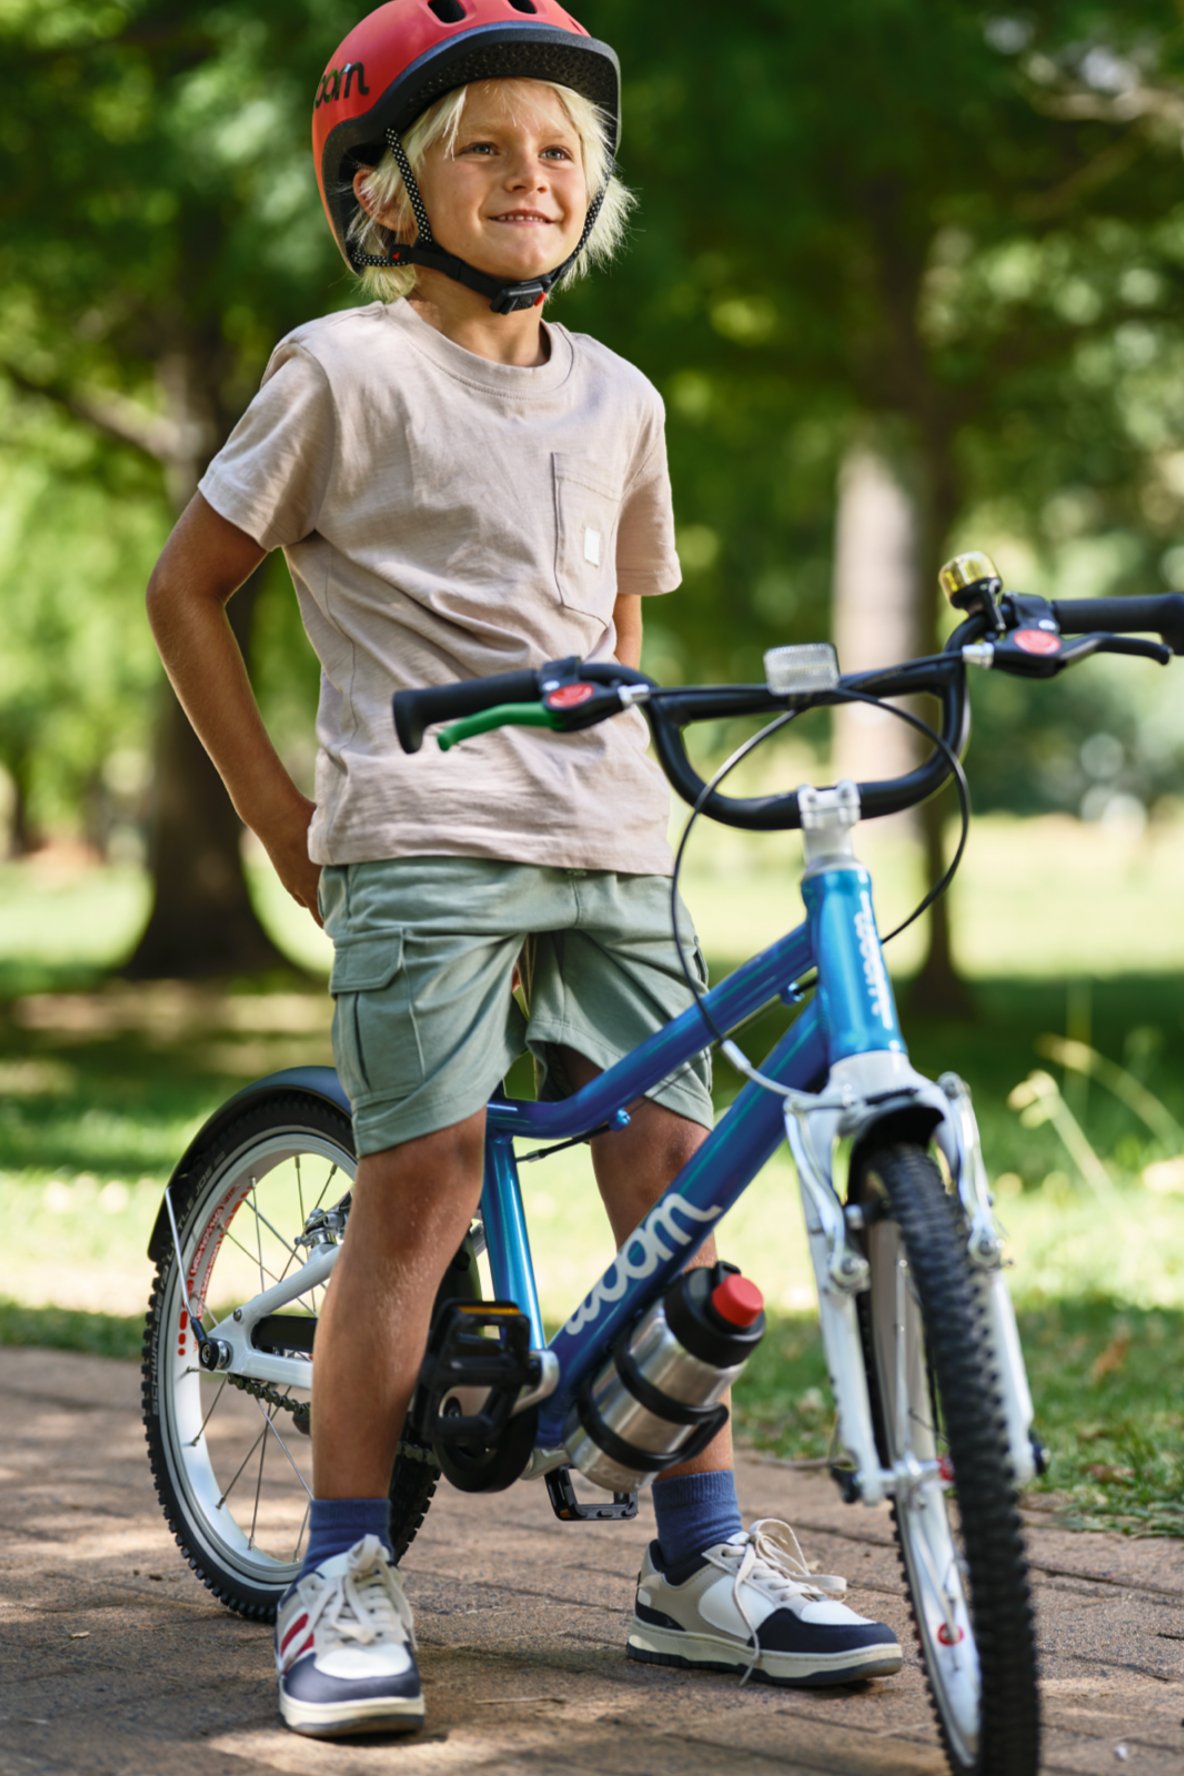
- Now is a good time to check the seat height in case your child has grown. Only increase it by a small amount at first – after a long break of the bike, it is sensible to have the saddle at a height that allows your child to reach the ground with both feet. Once their confidence and stability are back, you can raise the saddle some more.
Inside the instruction manual, you'll find advice on looking after your bike, plus a list of all the recommended tightening torques for the fixtures on your bike. As you'll discover, a torque wrench will become a must-have item in your toolbox.
Step 4: Check the brakes!
Check the brakes regularly.
- Try out the left-hand and right-hand brake levers in turn to see if you can feel any resistance.
- Then you need to test the brakes further by checking that the front and rear wheels do actually come to a stop when you activate the brake levers.
Not satisfied that the brakes are working to absolute perfection? Then keep your child away from the bike at the moment. It would be wise to take the bike to a bike shop to get it checked over.
Of course, you can fix any minor issues yourself if you have the right tools and some experience.
Our woom ORIGINAL bikes are built with powerful V-brakes with a braking performance that's tuned to suit children's abilities.
- If the brake pads are rubbing on the rims, this can be resolved by turning the two adjustment bolts on the brake arms. There's a step-by-step guide in this video.
- Wondering when the brake pads are worn out? Check the WEAR LINE (see image). If the grooves on the brake pads are worn down, it's time to replace the brake pads.
- Sometimes, the brake cables may also begin to corrode. You can try to relieve this by spraying some Teflon-based lube (you'll find this in all DIY shops) into the cable housing. This will enable the cables to glide through the housing once again.
- Last but not least, check the hexagon socket bolt on the brake arms and tighten it as required. If the brake pads are slightly worn, you can turn the adjustment bolt on the brake lever to bring them closer to the rim, thereby ensuring that your child will be getting maximum braking power.
The woom OFF, woom OFF AIR, woom UP and woom NOW models are all built with disc brakes.
- The pads need replacing when they've been worn down to below 0.5 mm – check out this vido for instructions on how to replace them. You'll need a decent understanding of bike mechanics to do this, so we recommend that you consult a trained mechanic when it comes to disc brakes.
- If the brake pads are rubbing on the discs, you'll need to adjust the position of the calipers. Loosen the fixing bolts of the brake caliper and shift it slightly to the left or the right so that the rotor is sitting centrally between the two pads. What we're aiming for is an equal distance between the pads and the rotor on both sides. Once you have done this, tighten the fixing bolts to a 5 Nm torque again.
After working on the brakes, you need to test them before your child rides their bike again. If you've just replaced the pads, you need bed in the new pads before riding. Find a safe, traffic-free location, ideally slightly downhill and follow these steps:
- Accelerate the bike.
- Alternate between the front and rear brake, using a decent amount of force until the bike comes to a stop.
- After you have repeated the first two steps a few times, you'll notice a significant improvement in the braking performance.
- You will know when the brakes are bedded in because there will be no further increase in braking performance.
Step 5: Putting some air in the tires
The next logical step has to be checking the tire pressure at the front and back. If they have lost air over the winter, it does not necessarily mean that you have a puncture or that the valve is broken. It's normal to lose a bit of air when the bike doesn't see any action for a while. Try and check the tire pressure at least once a month.
Please note that there is no universally correct tyre pressure as it depends on the rider's weight and the type of cycling they do.
You'll see the recommended tire pressure noted on the sidewalls of the tires – don't go above or below this figure. If you have a track pump with a gauge, you’ll be able to pump it up precisely. If not, try this:
- For less rolling resistance, you want higher pressure. This makes riding on tarmac surfaces a dream.
- For riding off-road, the tire pressure should be lower – ideally just a fraction over the suggested minimum pressure to give your child better cushioning through the tires.
Speaking of tires: Check the tyres and wheels regularly for damage and foreign objects, and to see if there is adequate tread left on the rubber.
Step 6: Setting up the gears (advanced)
If your child has a woom bike with gears, you'll need to check these over every so often. The chain might be rubbing, skipping, or shifting irregularly.
What follows is a how-to guide to correctly setting up the gears. You should only attempt to do this yourself if you're familiar with bikes and how they work. If that's not the case, find a local bike shop that can set up the gears correctly for you.
There are only three bolts standing between you and a perfectly adjusted derailleur. Start by checking the derailleur limits:
- Change to the smallest sprocket to check the lower limit. The jockey wheel should be lined up underneath the smallest sprocket at this point. If not, you'll need to turn the "H" bolt.
- When it's time to adjust the upper limit, change to the largest sprocket. If the jockey wheel is not positioned exactly beneath the largest sprocket, you'll need to turn the "L" screw.
But in which direction? When you turn the "H" screw in a clockwise direction, the jockey wheel moves to the left, towards the wheel. When you turn it in an anti-clockwise direction, the jockey wheel moves to the right and away from the wheel. The exact same thing applies to the "L" screw too.
Using the barrel adjuster on the trigger shifter – located where the cable enters the gear shifter on the handlebars – you can adjust the tension of the gear cable.
- If the chain does not move to the next-largest sprocket when you change gears, you'll need to increase the tension by turning the adjuster in an anti-clockwise direction.
- If, however, the chain skips several sprockets, you'll need to turn the adjuster in a clockwise direction to reduce the tension.
Turn the bolts a little at a time to give you maximum control over the adjustment process.
Covered everything? Then there should be nothing stopping your child from their next adventure!
For any questions on how to look after and service your woom bike, please don't hesitate to contact our customer service team.