How to Teach a Kid to Ride a Bike
Learning to Balance
Balance is the first step when learning to ride a bike for the first time. Before a child can learn to pedal and steer, they need to be able to keep their bike confidently upright and stable. Here’s how to help your Rider learn to balance that bike.
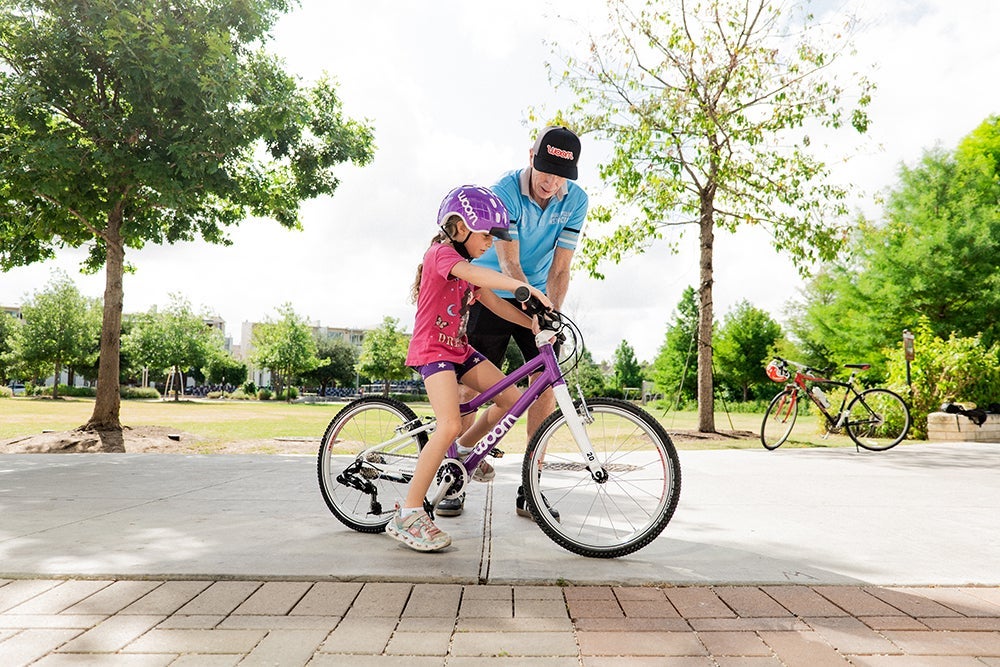
Step 1: Take a Seat
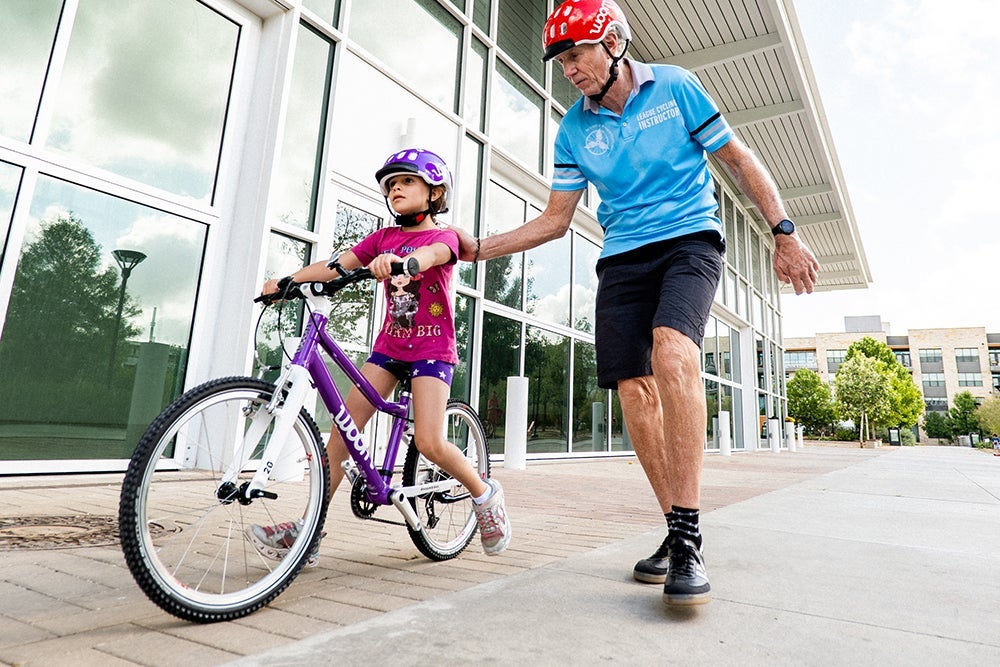
Have your child sit on the saddle (seat of the bike) and push their feet down flat on the ground, keeping all of their weight on the seat. They should be able to sit comfortably with their knees bent and both feet planted flat on the ground. To move forward, have them “walk while sitting down,” keeping all their weight on the saddle and pushing the bike forward with their feet on the ground.
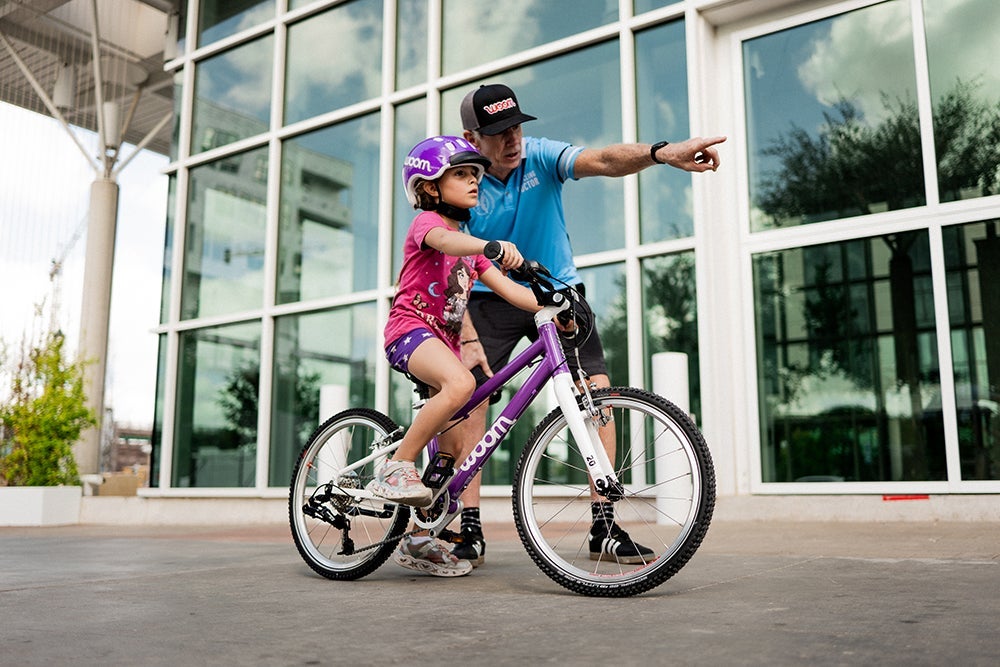
Step 2: Look Ahead
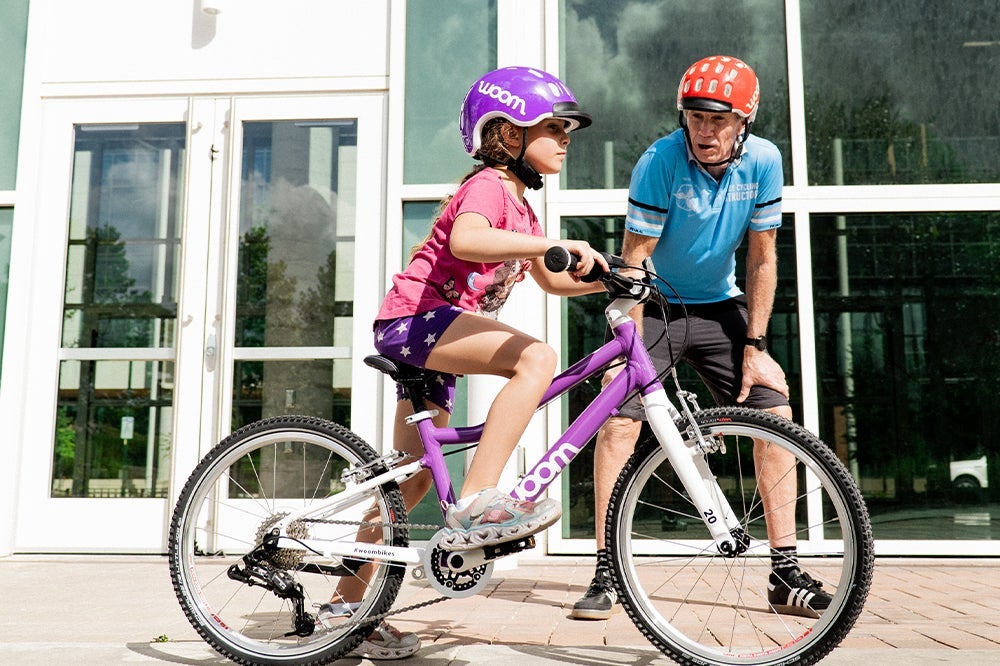
Now that they’re comfortably seated and familiar with the feel of their new bike, tell your kiddo to look straight ahead to where they want to go (about 25 feet). New Riders may be inclined to drop their gaze down to the front wheel. So gently remind them to “keep your head up” and “look ahead.” As with many other sports and activities, we end up in the direction we are looking, so having a goal of where to go is helpful.

Step 3: Practice Braking
Doug suggests teaching the use of handlebar brakes during the balance stage, so it’s already a habit by the time they’re pedaling at faster speeds. Explain what the brakes do and have your Rider practice pulling on the brake levers several times to get a feel for them without moving. If your woom model is equipped with front and rear brakes, have them pull on both brake levers to stop or slow down. You may consider playing Red Light/Green Light with your child walking their bike and pulling the brake levers to stop when you say “red light.”
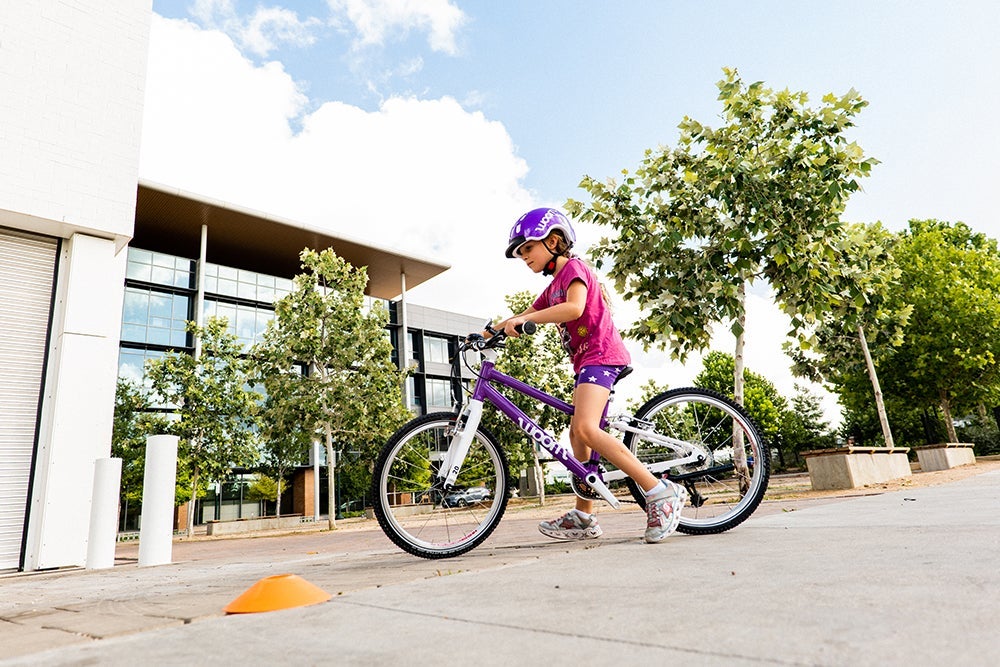
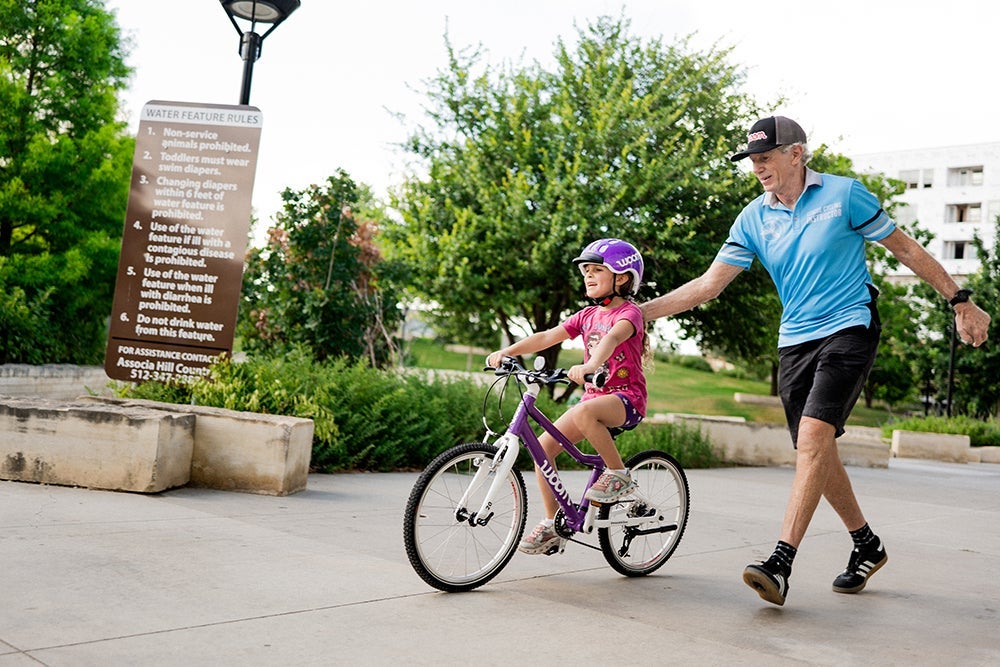
Step 4: Feet Up and Glide
Encourage your little learner to start balancing. Ask them to pick their feet up and let the bike glide forward as long as possible. This will be a short distance at first, but once they can glide 30 feet or more without putting their feet down, they’re ready to learn to pedal!
Learning to Pedal
If you’ve been using a balance-only bike up to this point, it’s time to upgrade to a bike with pedals!
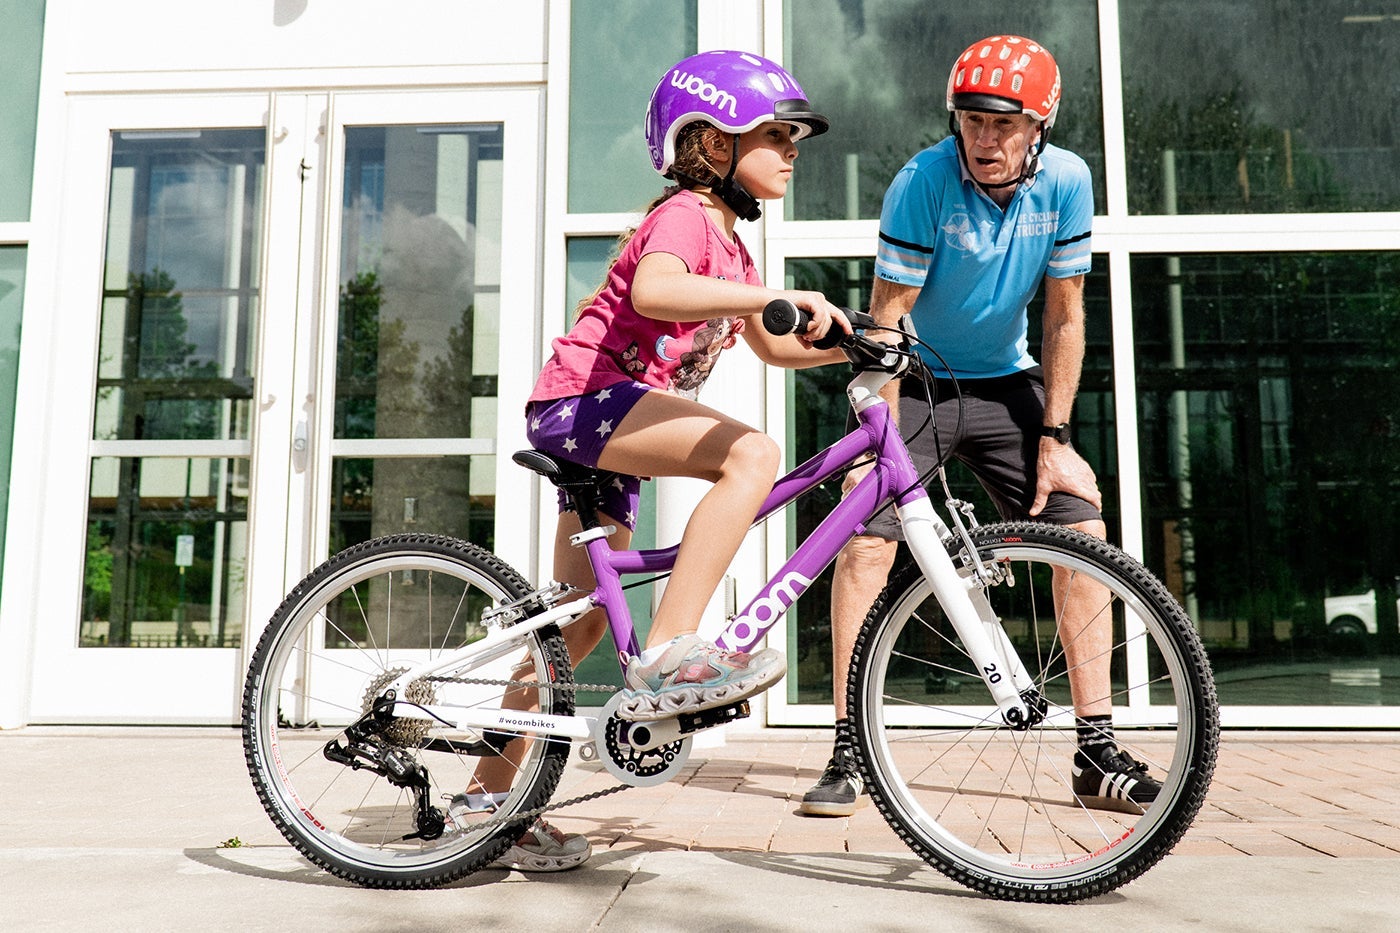
Step 1: Take a Seat
Adjust the bike’s seat height slightly higher than it was while they were using the bike as a balance bike so your soon-to-be pedaler can have both feet flat on the ground with their legs straight. Once they’re confident with pedaling, starting, and stopping, you can raise the seat in small increments until they’re up on the balls of their feet while sitting on the saddle.
Step 2: Review
Review balance and use of hand brakes, playing a little game of “Red Light, Green Light” to get the feel of coasting and stopping at this new height. Remind them to keep their head up and look ahead at where they’re going — not down at their handlebars! — to stay balanced.
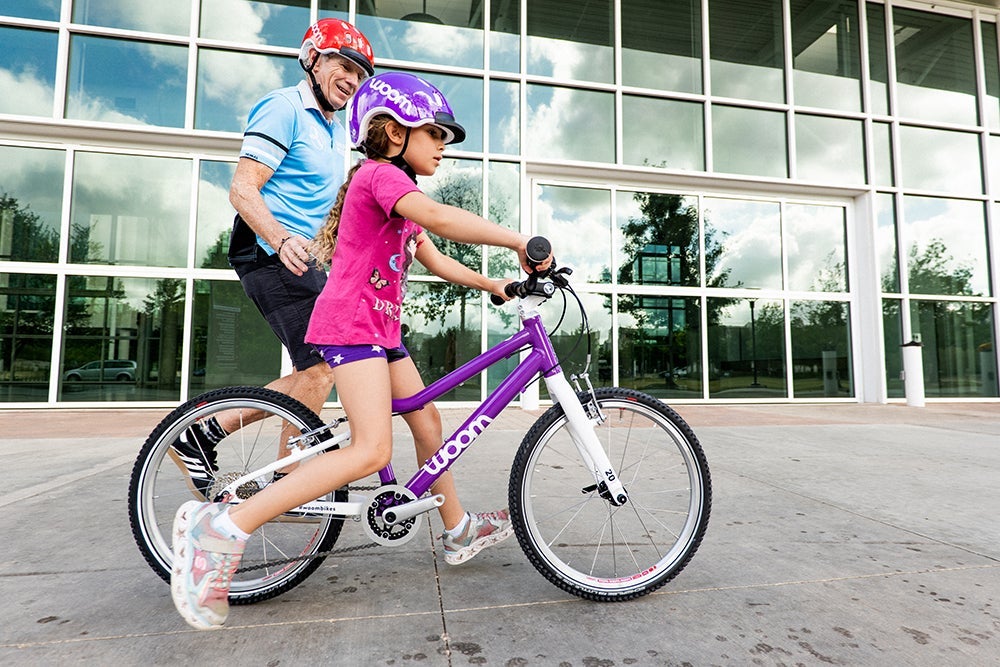
Step 3: Give Them a Push
Once your kiddo is ready to ride, give them a gentle push with their feet on the pedals and have them start pedaling. They’re doing it — they’re riding a bike! (And give yourself a pat on the back, too.)
Remember to keep cheering on your Rider! Encouragement is everything: even if they fall, they’ll know you have their back.
Step 4: Do It Themselves
Once they’re pedaling confidently, have your child learn to start and stop by themselves. Teach them how to position their bike pedals in the “power pedal position” that lines up the crank arm and pedal parallel with the frame down tube. Have them propel off the ground with one foot while pushing down on the pedal with the other to kick it off and start pedaling. Make sure your cyclist knows how to use brakes to stop and slow down, as they’ll be going much faster now than ever before.
Hit a roadblock? No worries. Remind your kiddo (and yourself!) to take a deep breath. Take a snack break, reset, and then try again.
More Learn to Ride Resources
If you're serious about getting your child riding, check out the links below. From video tutorials, PDF guides, to private lessons, we're here to keep those wheels turning wherever your Rider's cycling journey takes them.
Learn to Ride Curriculum
In partnership with the League of American Bicyclists, woom has developed a series of Learn to Ride resources for both parents and instructors, with a focus on the balance-first method. Whether you’re a visual learner or prefer a handy step-by-step printout, we’ve got you covered. Head to our Learn to Ride landing page to watch video tutorials in either English or Spanish or to download the appropriate instructional manual.
Learn to Ride Lessons
If this all feels like a bit much, it’s OK! Sometimes, the best thing a parent can do for their child is to find the best person to help their kiddo learn a new skill.
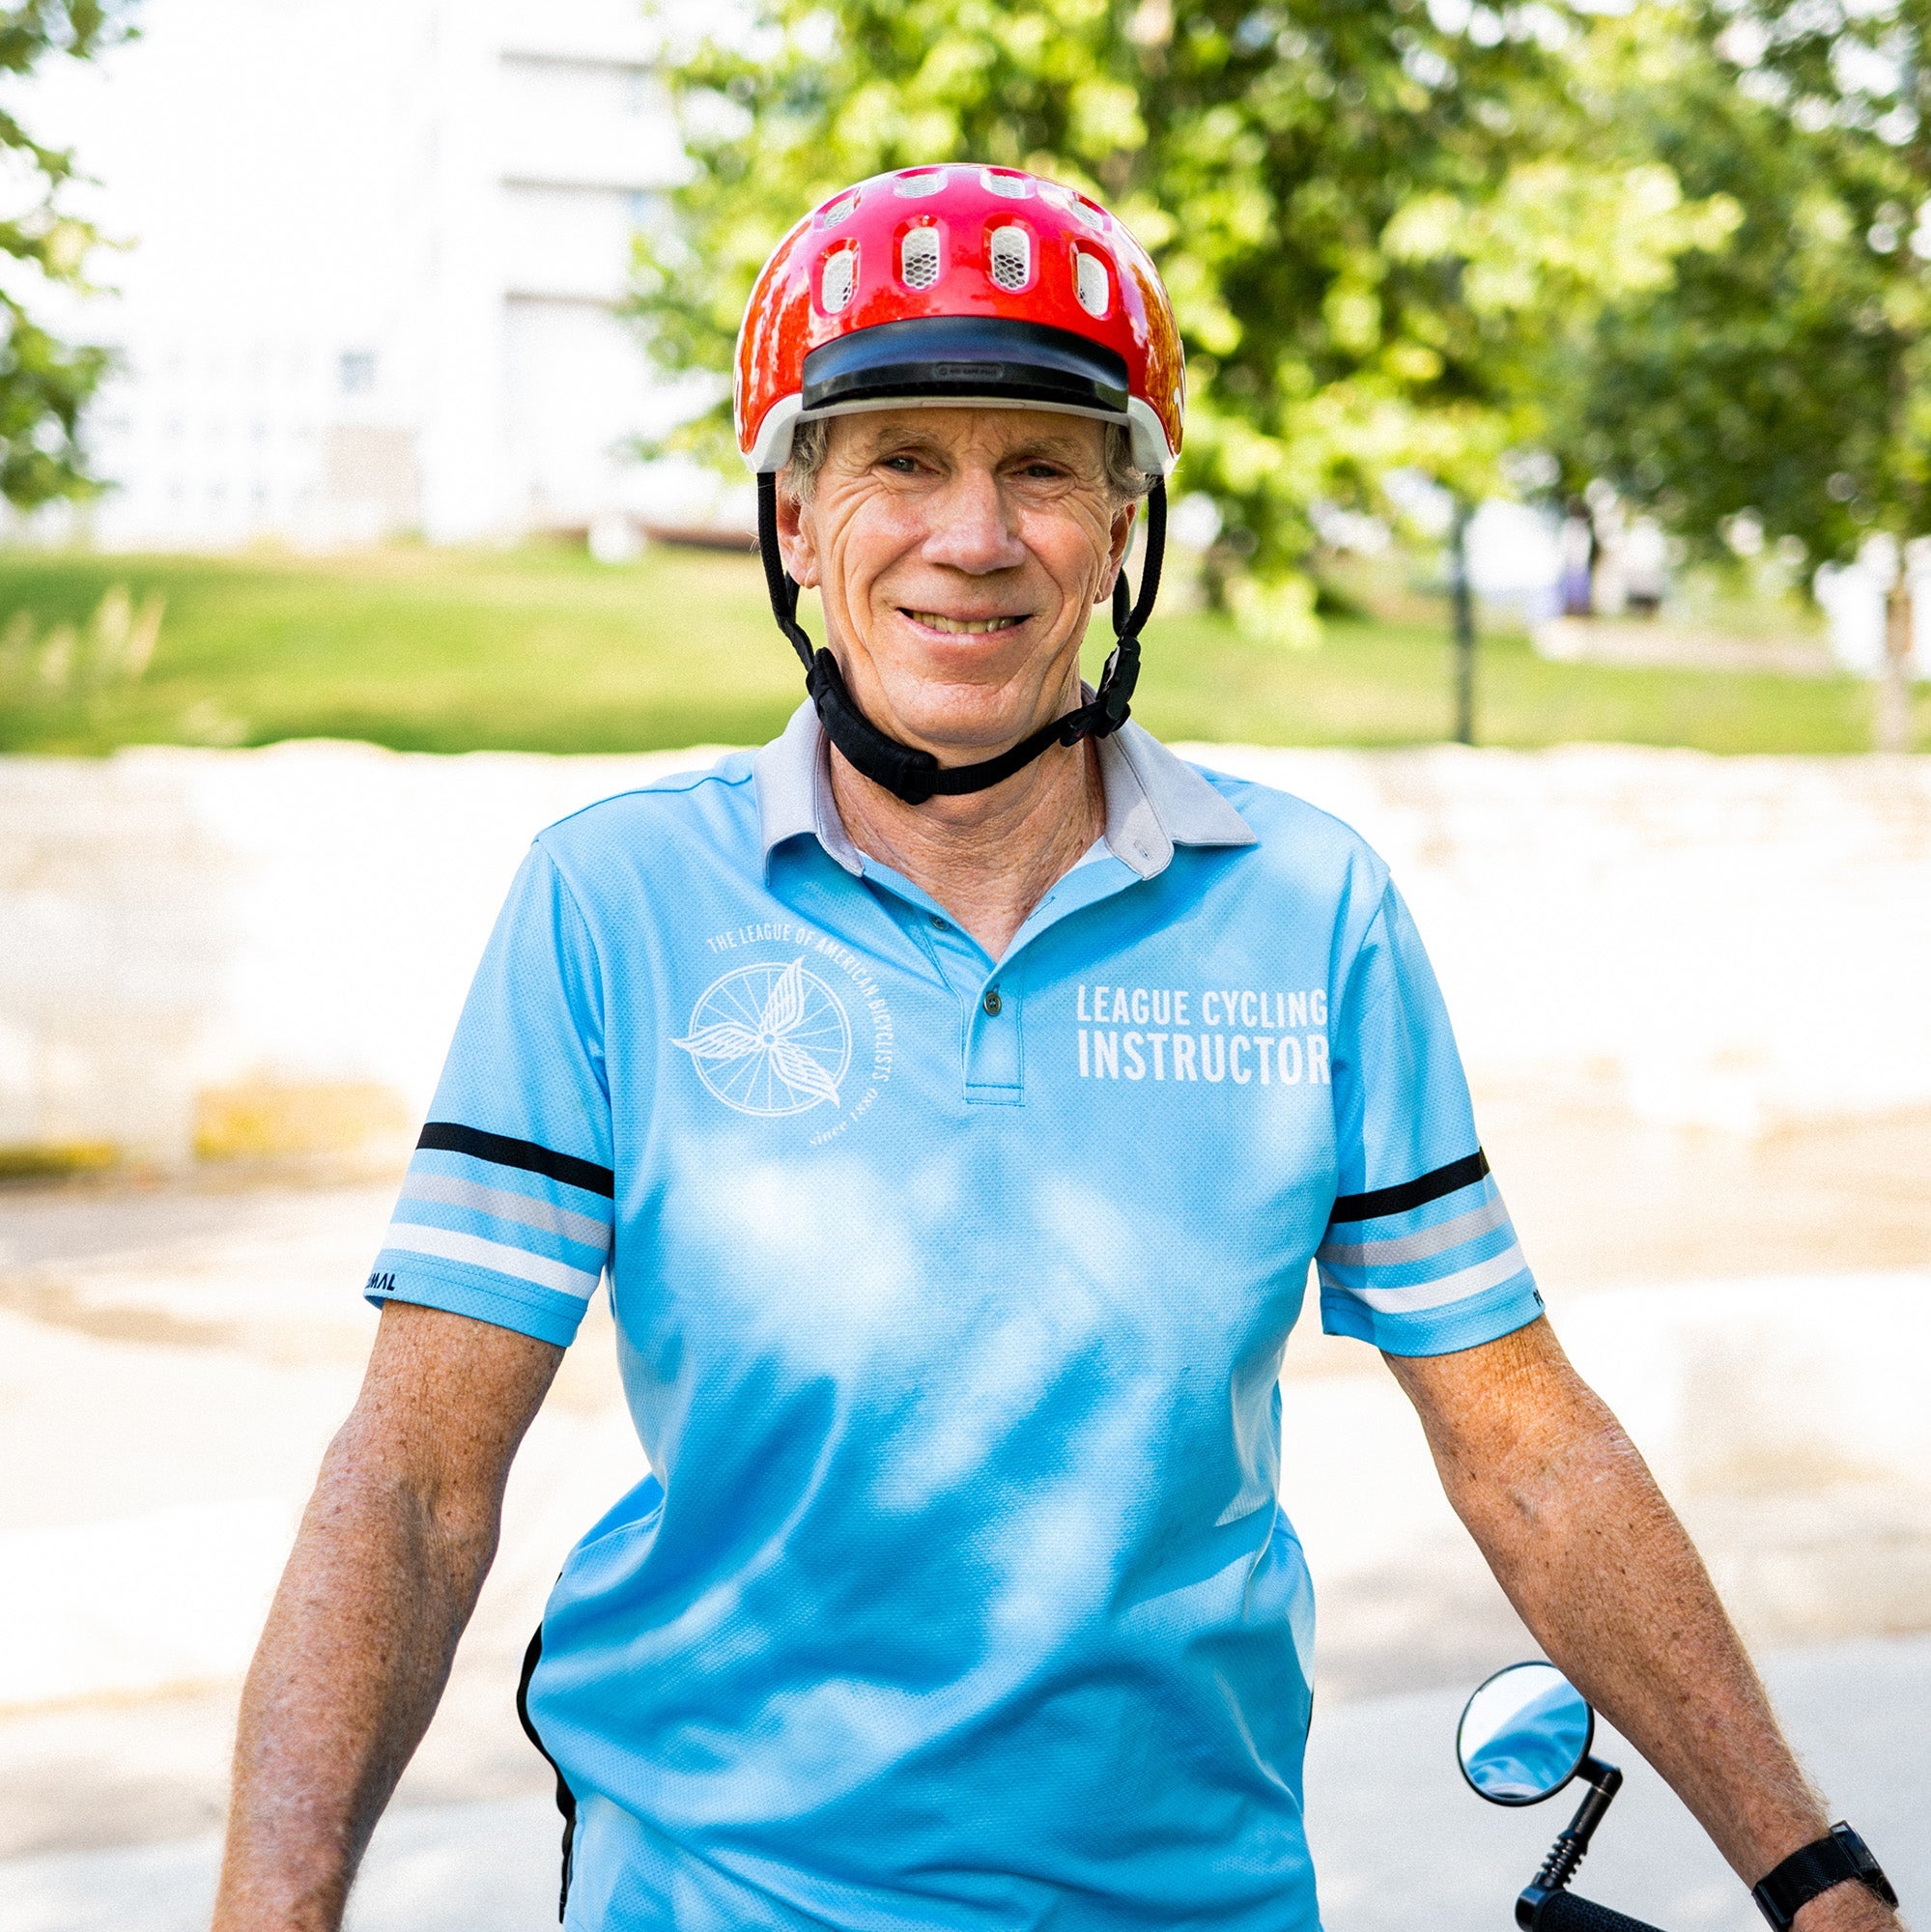
A professional cycling instructor like Doug can be the best step in how to teach a kid to ride a bike. With a background in health and safety, he has decades of experience with safety and bike riding education. Doug offers one-on-one and group instruction to children in the Austin, TX, area. For pricing and class information, email Doug at doug.ballew@woombikes.com. If you’re not native to Texas, the League of American Bicyclists has a guide to help you find an instructor near you!