MTB skills: How to boss the brakes

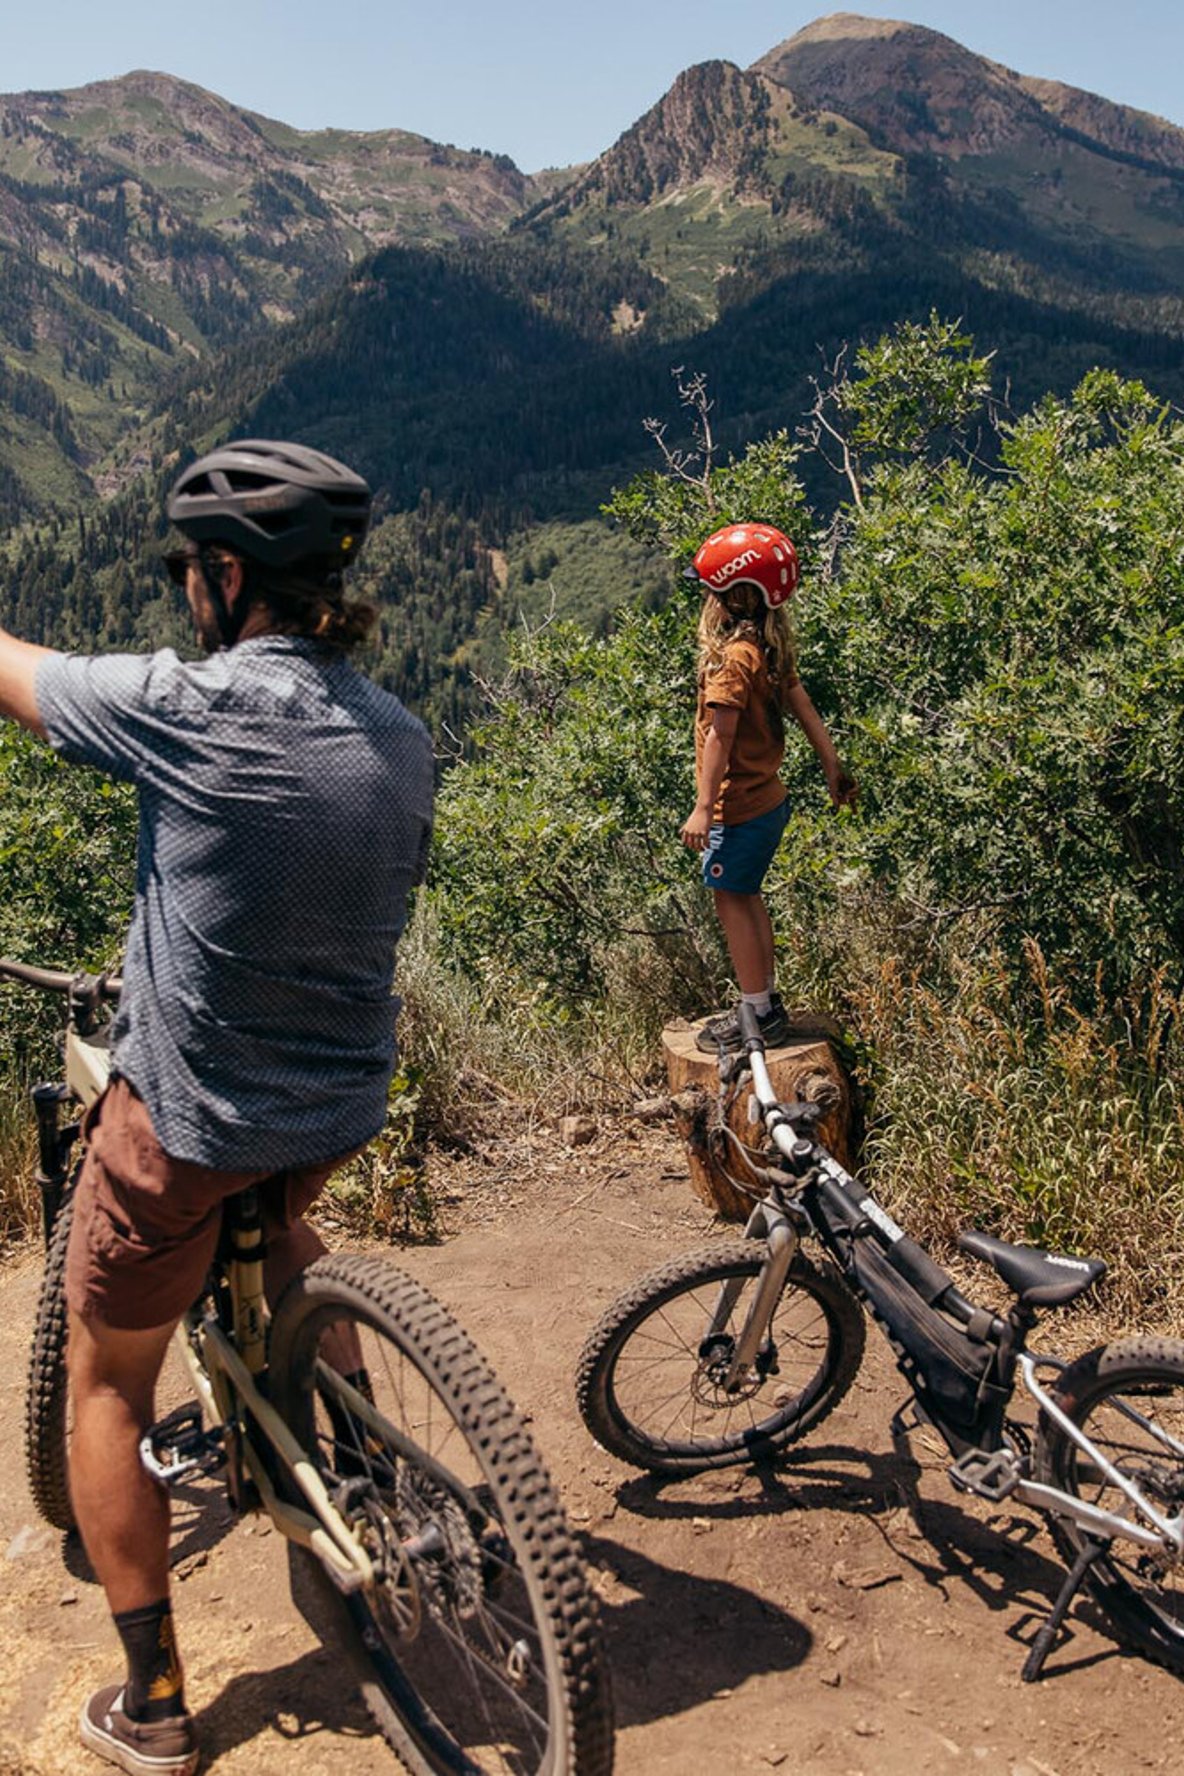
If anything matters as much as how much fun you have while mountain biking, it’s knowing how to ride safely. That includes braking – be it on the trails, in the bike park, or cruising down the hill to a friend’s place. Kids that have a feel for their brakes not only have more fun riding, but also happier parents!
Braking competently is a fundamental skill in mountain biking. It involves not only knowing how to manage the bike’s speed on descents and brake in a controlled manner, but also being to be able to stop the bike quickly in unpredictable situations.
But before we begin: in order for your child to be in the best position to manage their bike, the components must be optimally set up for their physique. Check out this article for an in-depth guide on how to set up your child's bike and what you need to watch out for.
Braking power on the front and rear wheel
The front wheel brake is the strongest and is responsible for the majority of the actual stopping. The front wheel brake gives 70% of the total braking power and the rear wheel brake has 30%. Why's that?
When braking, your upper body weight transfers forwards. To counteract this, you push back on the bars, which puts extra load on the front wheel. This is why the front wheel brake is particularly effective at bringing you to a stop without the front wheel locking up. It’s the opposite story for the rear wheel brake: as your body shifts forwards, the rear wheel has less load on it, leading it to block and slip out earlier and contribute less to the braking performance.
Not keen on using your front brake? Many people learned that you could end up flipping over the front wheel if you grab a handful of your front brake. That is not the case; as long as your weight is distributed correctly and you’re able to modulate the brake well (i.e. not too much, not too little), the probability of crashing is minimal – keep reading to find out more.
Finger position
Hydraulic disc brakes make light work of braking for your child; they have great stopping power and are easy to modulate with little effort. One or two fingers will do the job of achieving the maximum braking power. This means your child can use the rest of their hand to maintain a firm grip on the bars – a major advantage on rough and rowdy descents. We strongly recommend keeping one finger on the brake lever while descending; this lets you react quickly and start the braking with as much control as possible. Don’t forget: keep thumbs looped around the underside of the grips to prevent your hands from slipping.
Braking technique
Dosage is key when it comes to braking: the aim is to accurately modulate the braking power as well as possible so that the descent keeps it flow, does not feel like a drag, and prevents your body and the bike from becoming agitated or unsettled. Here’s how:
- The optimal braking performance is achieved through a combination of the front and back brake, done with feel. Progressively squeeze the brake levers gently until you reach the desired braking force.
- The 70/30 braking equation for the front and rear brake applies in mellow situations. However, the steeper the descent, the more important the powerful front brake.
- Use your front brake carefully in corners and on loose or slippery ground; here's where the rear brake will be more effective. Don’t pull it too sharply though; you don’t want it to lock up and start slipping. We haven’t got onto lessons of how to drift yet ;)
- Disc brake rotors tend to get hot so try to avoid long periods of sustained braking. Practice ‘fluttering’ the brakes, letting them off at regular intervals and letting the bike roll. Once you reach a high speed again, give the brakes another pull. If you’re tackling a particularly long and steep descent when you don’t want to risk letting go of the brakes, we suggest taking frequent breaks to let the brakes cool down.
Body position
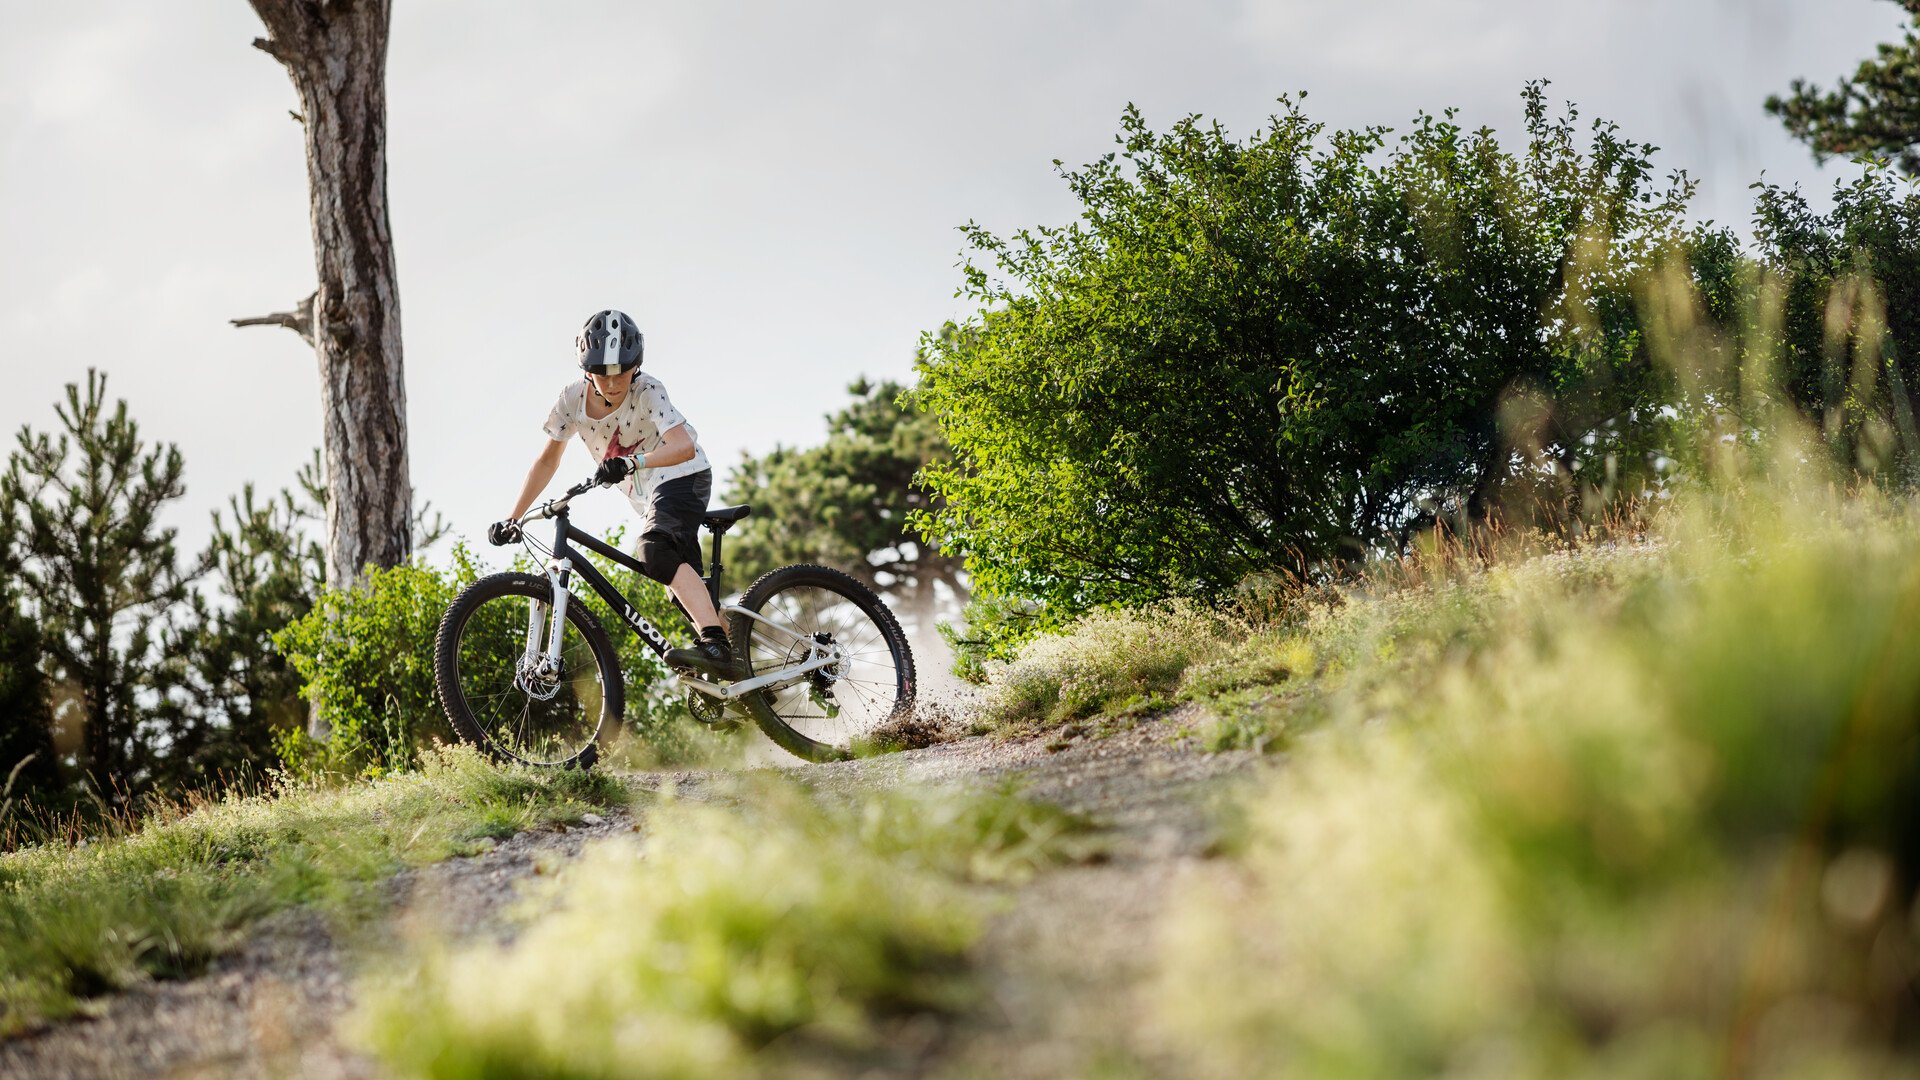
As a rule, your child should adopt the ‘ready position’ for descents so that their arms and legs work as suspension and they’re able to react quickly.
Position the body’s centre of gravity (the hips) directly over the bottom bracket. Distribute the rider’s weight equally on the two pedals, so that the pressure isn't on the hands and wrists. Have slightly bent arms and legs, with the pedals even and parallel to the ground. One or two fingers resting on the brake levers, eyes fixed ahead on the trail. Encourage your child to keep as relaxed as possible and not too tense up. With practice, this stance will become second nature and braking will get more and more intuitive.
What happens to our bodies when braking?
Forces are triggered when you try to decelerate that lead your body weight to shift forwards and upwards. You have to counteract these by re-distributing your body’s centre of gravity at the right time – this depends on the gradient and how much braking power is needed. It involves lowering your centre and possibly transferring the weight over the back wheel. This should prevent you from flipping over the front.
Let’s take a look at different braking scenarios and the most effective body position:
- When trying to slow down on gently sloping downhills, keep your hips central over the bottom bracket and lower your centre of gravity. By keeping low and driving weight into the pedals, the tyres retain traction and you will decelerate.
- On steeper terrain, your body weight shifts forward as you brake. Counteract this by positioning hips further back over the saddle. Lower your heels; you’ll notice that your centre of gravity is now further back over the bike. This retains pressure over the back wheel, letting you brake more effectively with the rear brake and minimizing the risk of catapulting over the bars.
- When braking sharply, you need to be quick in moving your hips as low as possible behind the saddle. You essentially push the bike forwards under your body while shifting your body weight back over the bike.
- Don't overdo it! Keep your arms and legs bent while braking, so that you can still steer accurately. Your body is too far back if your arms are locked-out in order to pull on the bars. This results in too little pressure over the front wheel and a loss of grip, control, and stopping power. As a general rule, aim to have your crotch level with the back edge of the saddle.
- These steps should happen simultaneously. As soon as you start to brake, redistribute your weight from the neutral position into the ready position so that your braking is more effective. Once you let go of the brakes, bring your stance back to the regular riding position.
- Tip: If there’s a particularly long and steep downhill, try lowering the saddle in advance to give your rider more room to shift their body position. This lower centre of gravity minimizes the risk of going over the bars and will boost your child’s confidence.
Fearless, pro-level mountain bikers are not made in a day! It will take time and practice for your child to learn the forces at play while braking, which position to adopt, and how much braking force is needed.
Take note! Before tackling any trails with your offspring, find time to practice braking correctly beforehand. Find slopes that consist of a gentle incline and include a variety of terrain. With experience, they’ll develop a sense of ‘what feels right’ when it comes to stopping their bike in any situation. This will boost their confidence and they will feel more capable while riding off-road, which means even more fun.
Now, we’re curious – How did you help your kids to master braking? Any tips or tricks for teaching this skill?