10 fun games to bring on your child's bike skills
Once your child has nailed pedaling, it's time to take it to the next level with some fun bike games.


Setting the stage
When it comes to skills training, fun comes first. The more relaxed and fun you can make it, the more your child will want to join in – and the more confident they'll feel on two wheels. Because when learning feels like play, their skills will come naturally.
- You will need a few training tools, such as cones or buckets, small balls, floor chalk or similar.
- Find a safe location that is free from traffic with ample space to create a small circuit, where your young rider can pick up some speed at times.
- Kids learn best by watching and copying, so make sure you demonstrate (or at least explain) each activity first, and they'll be eager to try it themselves.
- Before beginning your skills session, do a safety check of your child's bike: are all the bolted fastenings securely tightened? Are the brakes working as they should? Is there enough air in the tires?
Challenge #1 – Cornering
Riding in circles
Ride in a large circle with your child following. Challenge your child to keep at a short distance from your wheel. With each loop, gradually decrease the size of the circle.
Figure-of-8
Draw a large figure-of-8 on the ground and encourage your child to follow the line. This will help practice cornering in both directions. Your child will likely find one direction easier than the other – that's totally normal; we all tend to have a more dominant side.
Next level
Confident kids with advanced skills can try both the circle and the figure-of-8 using one hand. Tip: Check out challenge #4 beforehand as this focuses on developing your child's one-handed riding skills.

Challenge #2 – Stay on track
As cyclists, we are often expected to ride within certain spatial confines, such as staying inside bicycle lanes or keeping within a trail's natural borders. Here's where staying on track is key.
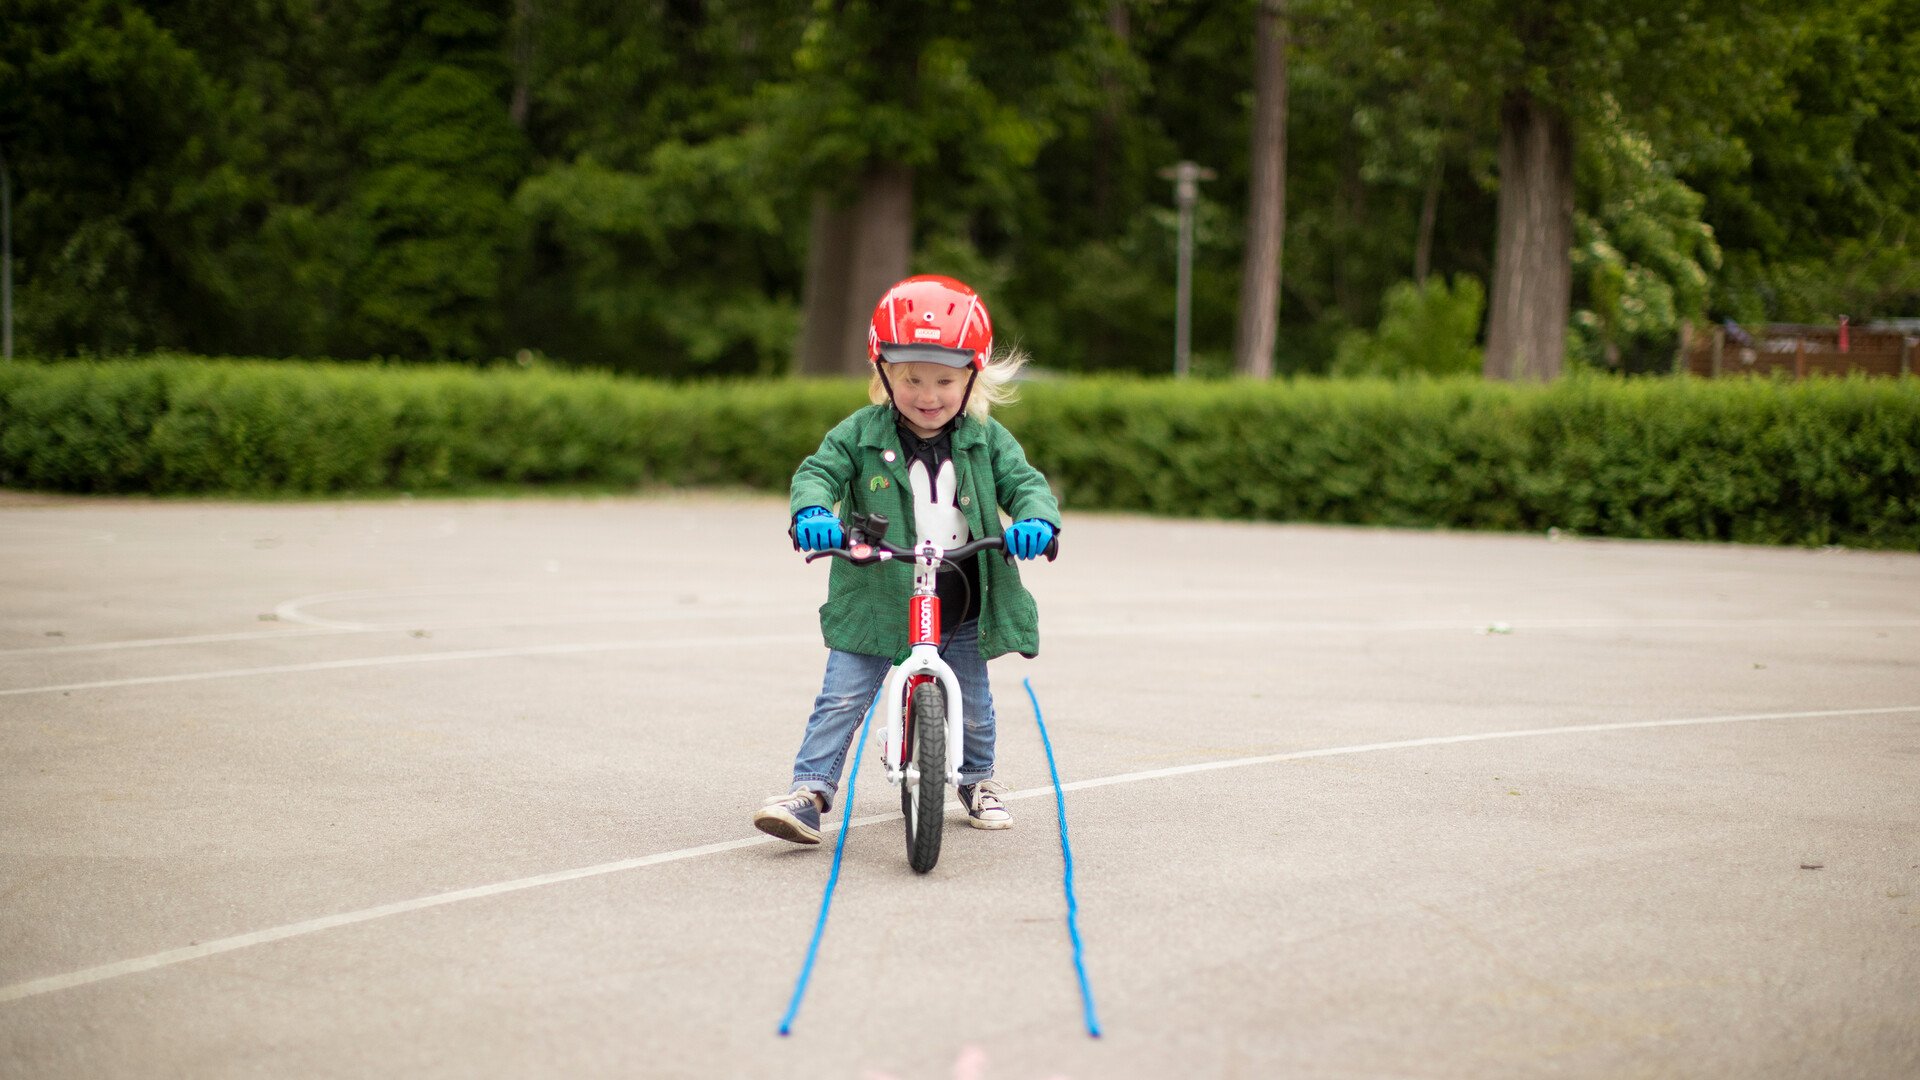
Navigating a corridor
Draw two parallel lines in a sort of corridor on the ground. Your child's challenge is to ride along the whole corridor without touching the boundary lines.
Next level
Decrease the width of the corridor as it goes along – making it increasingly narrow. Alternatively, draw it in the shape of a spiral and set your child the challenge of riding from the outside inwards – once again, taking care not to touch the lines.
Challenge #3 – Steering
Dodging obstacles is an art form – and it all starts with confident, in-control steering.
Riding slalom
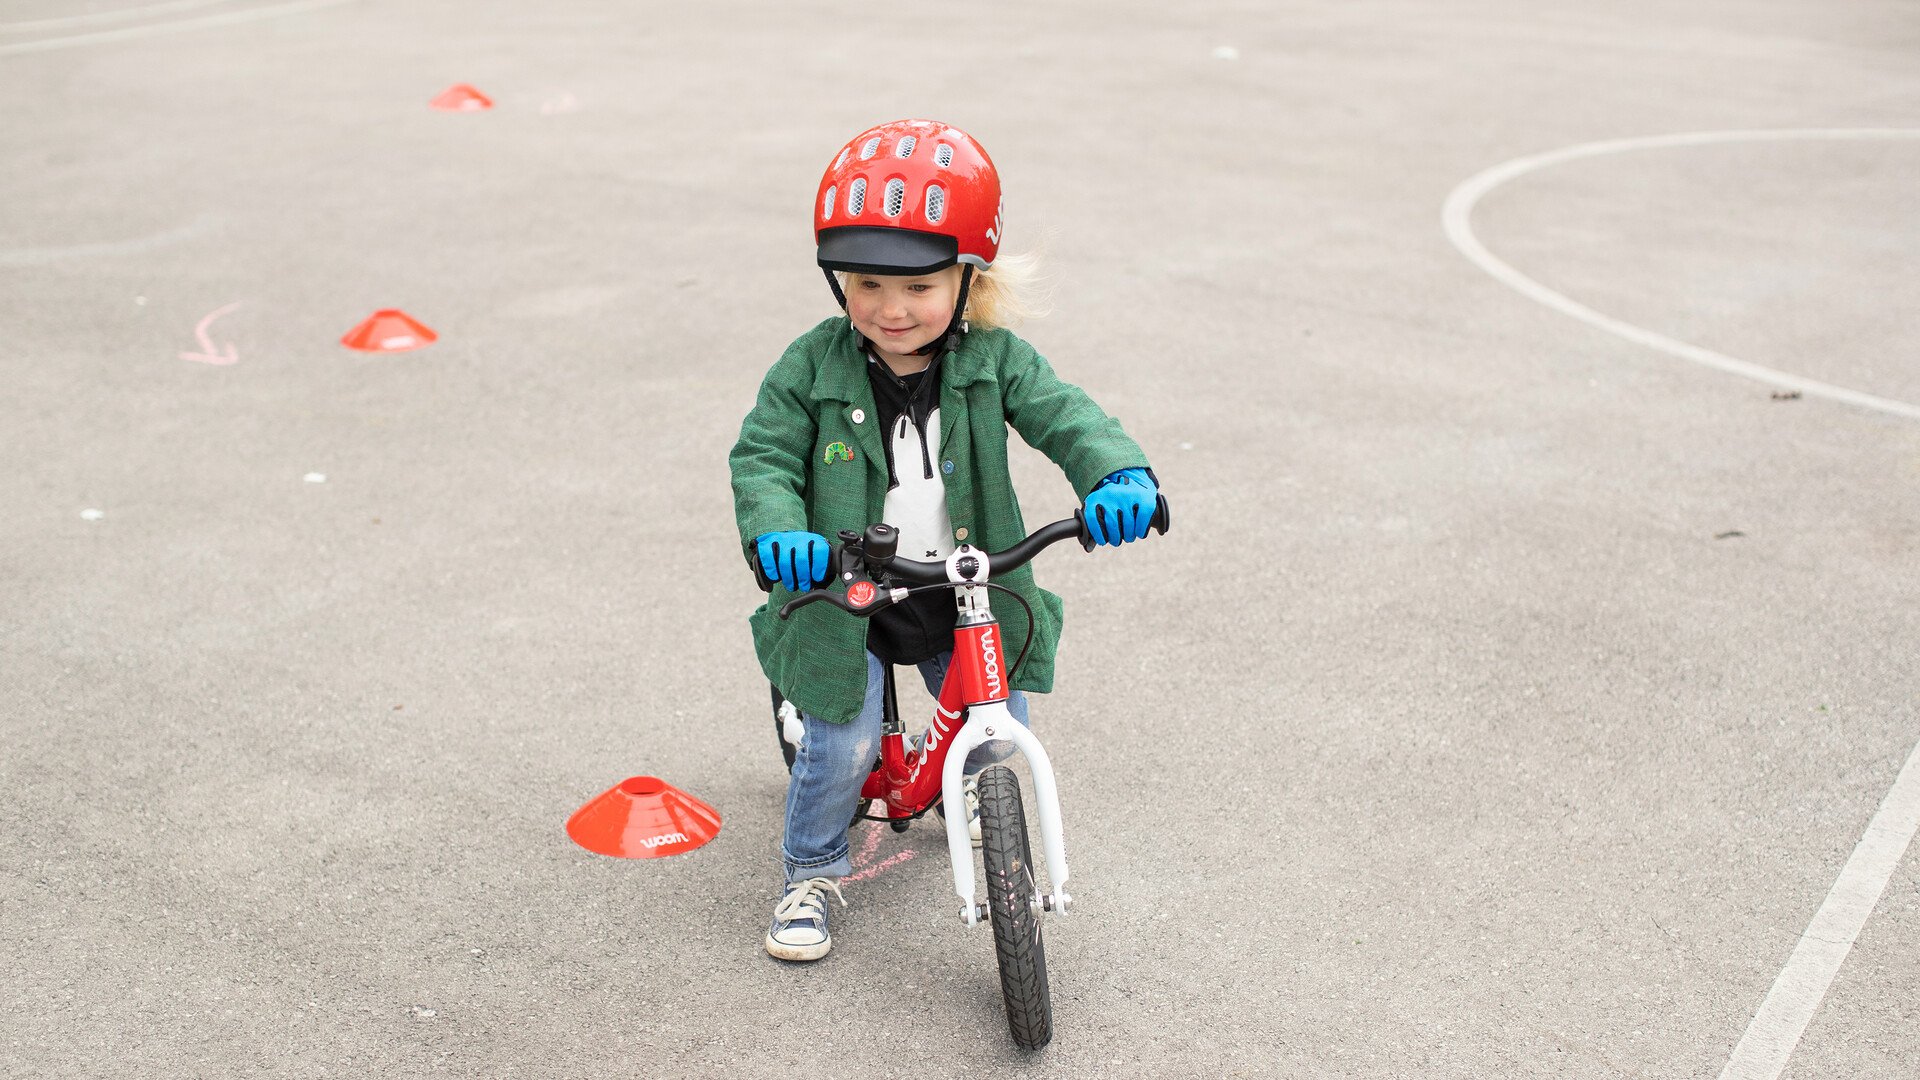
To begin the slalom challenge, place several cones at a generous distance from each other. Get your child to navigate left and right around them.
Next level
The closer the cones, the harder the exercise! Why not add an element of competition with a start and finish line? See who clocks the quickest time – guaranteed fun for your child.

Challenge #4 – Riding one-handed
Being able to ride confidently with one hand on the bars is a must-have skill for your child. It's crucial preparation ahead of >> riding in traffic where your child will need to signal clearly with one hand at junctions. As always, don't rush the process. Riding one-handed isn't usually picked up at the first attempt.
Step 1
Ask your child to ride at a comfortable, moderate speed without pedaling. (Tip: Do this on a slightly downward incline so that the bike can roll). Then your child tries to loosen the grip of one hand on the bars. When they feel ready, they should lift one hand away from the bars. Go by go, they can practice removing it further from the bars.
Once they have nailed that with confidence, they can try cycling one-handed while pedaling.
Step 2
Hold out your arm at the height of your child's shoulder with a ball in your hand. Encourage your child to work up some speed on the bike. As they pass by, they try to grab the ball without steering off-course.
Challenge #5 – Peripheral vision
When sharing the road with other users, it's imperative that your child be actively aware of their surroundings. This involves a shoulder check before reaching a junction or making a turn. Practicing this sort of conscious checking with your child is a must before you hit the roads.
Shoulder check
Get your child to ride past you; as they do so, you hold up a certain number of fingers, or a small object, such as a pine cone or a ball. Their challenge is to glance over their shoulder and spot the number or recognize the object. Then call it out to you.
Challenge #6 – Pin-sharp braking precision
Whether at a stop sign or an unavoidable obstacle, controlled braking is a key skill for your child in order to ride safely on the roads.
A stop line
Draw a line in chalk or position some cones in a row. Your child first positions themselves for a run-up, then rides up to the line with a bit of speed. The aim is to brake in a timely fashion so that they come to a halt before or, even better, on the line.
Repeat the exercise and mark where their front wheel finishes each time on the ground in chalk. This will allow them to monitor their progress. Their aim is to get closer to the stop line each time.
Next level
To take the difficulty up a notch, your child can increase their approach speed.
Variation – Practicing balance
Add an element of balance training to this challenge. Choose softer ground, such as a lawn or playing field Your child rides towards you, then brakes in a controlled manner until coming to a standstill. The challenge here is to then restart their ride without touching the ground with their feet.
Trackstanding like this is much easier if your child keeps the pedals parallel to the ground.

Challenge #7 – Keeping balance
Going fast is something kids usually pick up quickly. But knowing how to ride slowly takes some practice. It's a great way for your child to fine-tune their balance.
Slow bicycle race
Take your places on the start line. Everyone starts at the same time, riding as slowly as possible to where you've marked the finish. It's a snails-pace race, where the winner is the last one over the line without having put a foot on the ground.
Next level: Learning to trackstand
Outline a rectangle on the ground. The challenge for your child is to stay seated on their bike, not touch the floor, and keep within the lines. As soon as a foot touches the ground, the game restarts. See how long they can balance on their bike by timing them with a stopwatch.
Don't be afraid to have a go yourself.
Challenge #8 –Riding out of the saddle
Your child is going to spend the majority of their time on the bike in the saddle. But uneven surfaces and bumpy tracks are often best tackled in the 'attack position' so that their arms and legs work as additional suspension. What's more, most downhills should be ridden out of the saddle
The attack position – on the pedals
Find a flat, straight stretch and get your child to ride at a decent pace. They then stop pedaling and free-wheel, positioning the cranks at an equal height as they get out of the saddle.
Now their arms and legs should be slightly bent to absorb any bumps, with their elbows outwards, shoulders over the bars, and hips over the bottom bracket.
Balancing is easier when you look further ahead.
Challenge #9 – Popping the front wheel
The art of lifting the front wheel from the ground for a moment makes it significantly easier for your child to pop up and over obstacles like sidewalks and roots.
Note: This is an advanced challenge, so make sure your child has already developed the above-mentioned skills on their bike before attempting this one. The challenge here is all about timing – picking the right moment to lift the wheel in order to clear the obstacle. Before attempting to hop onto the sidewalk, it makes sense for your child to try and lift their wheel over something small lying at ground level, such as a small branch or twig.
Getting the front wheel in the air
Place a twig on the ground. Your child should pedal towards the obstacle at speed, cranks equal, and arms in a push-up position. Once close, your child extends their arms, pulling the bars upwards in a quick motion, just in time to lift their front wheel off the ground and clear the obstacle. Their upper body remains upright.
Once the front wheel is over the obstacle, their weight shifts forward again and the front wheel can land.
Try doing it on a very gentle, steady incline so your child can shift their weight towards the back of the bike and get the front wheel in the air.
Challenge #10 – Drifting
Gravel and other loose surfaces can be pretty daunting for many children. This often stems from unwanted sliding due to a child's unintentionally excessive or abrupt braking, or simply the fact that bikes behave differently on loose or slippery surfaces.
That's why it's a great idea for your child to practice braking on a variety of different types of ground and in various conditions. To get started, find a flat, quiet gravel or woodland track.
Modulating braking power
First, define where your stop line is. Begin by simply asking your child to ride at a slow-to-medium pace and bring the bike to a standstill on the line using both brakes. You can also mark stopping points on the ground so that they can orientate themselves, and try to stop closer to the markings on their next go.
In wet conditions, things can be extra slippery, such as the white paint of pedestrian crossings, leaves on the ground, cobblestones and tram lines, which can lead to a loss of grip.
In such cases: brake before cornering, making sure it's progressive and gentle rather than abrupt. If possible, avoid the obstacle.
Suitable protective gear
Falls can be commonplace when learning new skills, which is why having the right protective gear is essential for bike riders.
- A correctly positioned, well-fitting helmet is critical. Our READY Kids' Helmet always achieves the perfect fit and is packed with innovative safety features.
- Riding gloves – like our TENS Bike Gloves – are a smart way to give your child a dependable grip on the handlebars while keeping their hands protected during a fall.
- For extra peace of mind, you can kit your child out with knee and elbow protectors, such as our NEEBOWS Knee Pad Set and NEEBOWS Elbow Pad Set.
For even more bike-life equipment, check out our full range of accessories in the online shop.
In need of a little inspiration? This video introduces more playful ways to train your child on two wheels.
Good luck and have fun dialing in these skills together!

