First steps on a balance bike: balancing
Riding a balance bike is the perfect launchpad for learning to ride. Here are three steps you can take to support your child with their new balance bike.

The first challenge in cycling is balance. Your child will now be busy learning to stay upright on their bike.
Expose your child to other children having fun on their balance bikes as soon as you can – this will do wonders to spark their curiosity. Once they've observed for a while, they'll be eager to have a go and imitate.
Tune into their mood and take a no-pressure approach. Your child will let you know when they're ready to get on their balance bike.
It's for exactly this reason that we've developed our balance bike in two sizes to extend the age range by making sure both models are specifically tailored to a child's exact needs and development stage.
- Our smallest balance bike – the woom GO 1 – is designed for toddlers aged 18 months and up.
- The woom GO 1 PLUS is aimed at older kids aged approximately three and up. This model is ideal for kids who come later to cycling or who are simply having so much fun on their balance bike that they don't want to switch to a bike with pedals just yet.
Pairing a low ride height with an upright position creates a familiar movement for your child. Did you know that riding a balance bike is a lot like walking? This will be a comforting thought and kids will be able to follow their natural intuition when they're on the bike for the first time. Slowly but surely, their steps will become longer and walking will become gliding.
A good place to learn is on a gentle downhill slope, far away from traffic and other things likely to cause stress. Here, you'll be able to support your child's budding balance biking.
Remember: While children will intuitively want to use their feet to brake, now is the right time to teach them how to use the hand-operated brake on their balance bike safely and effectively. Knowing how brakes work will make it a lot easier when they transition to a pedal bike as they will already have internalized this skill.
As always, children need to be wearing a perfectly fitting helmet and correctly sized gloves.
In our online shop, you'll find a wide assortment of child-specific riding equipment that will help your child to balance bike safely. Watch our "how to" videos to determine exactly which size is best for your child.
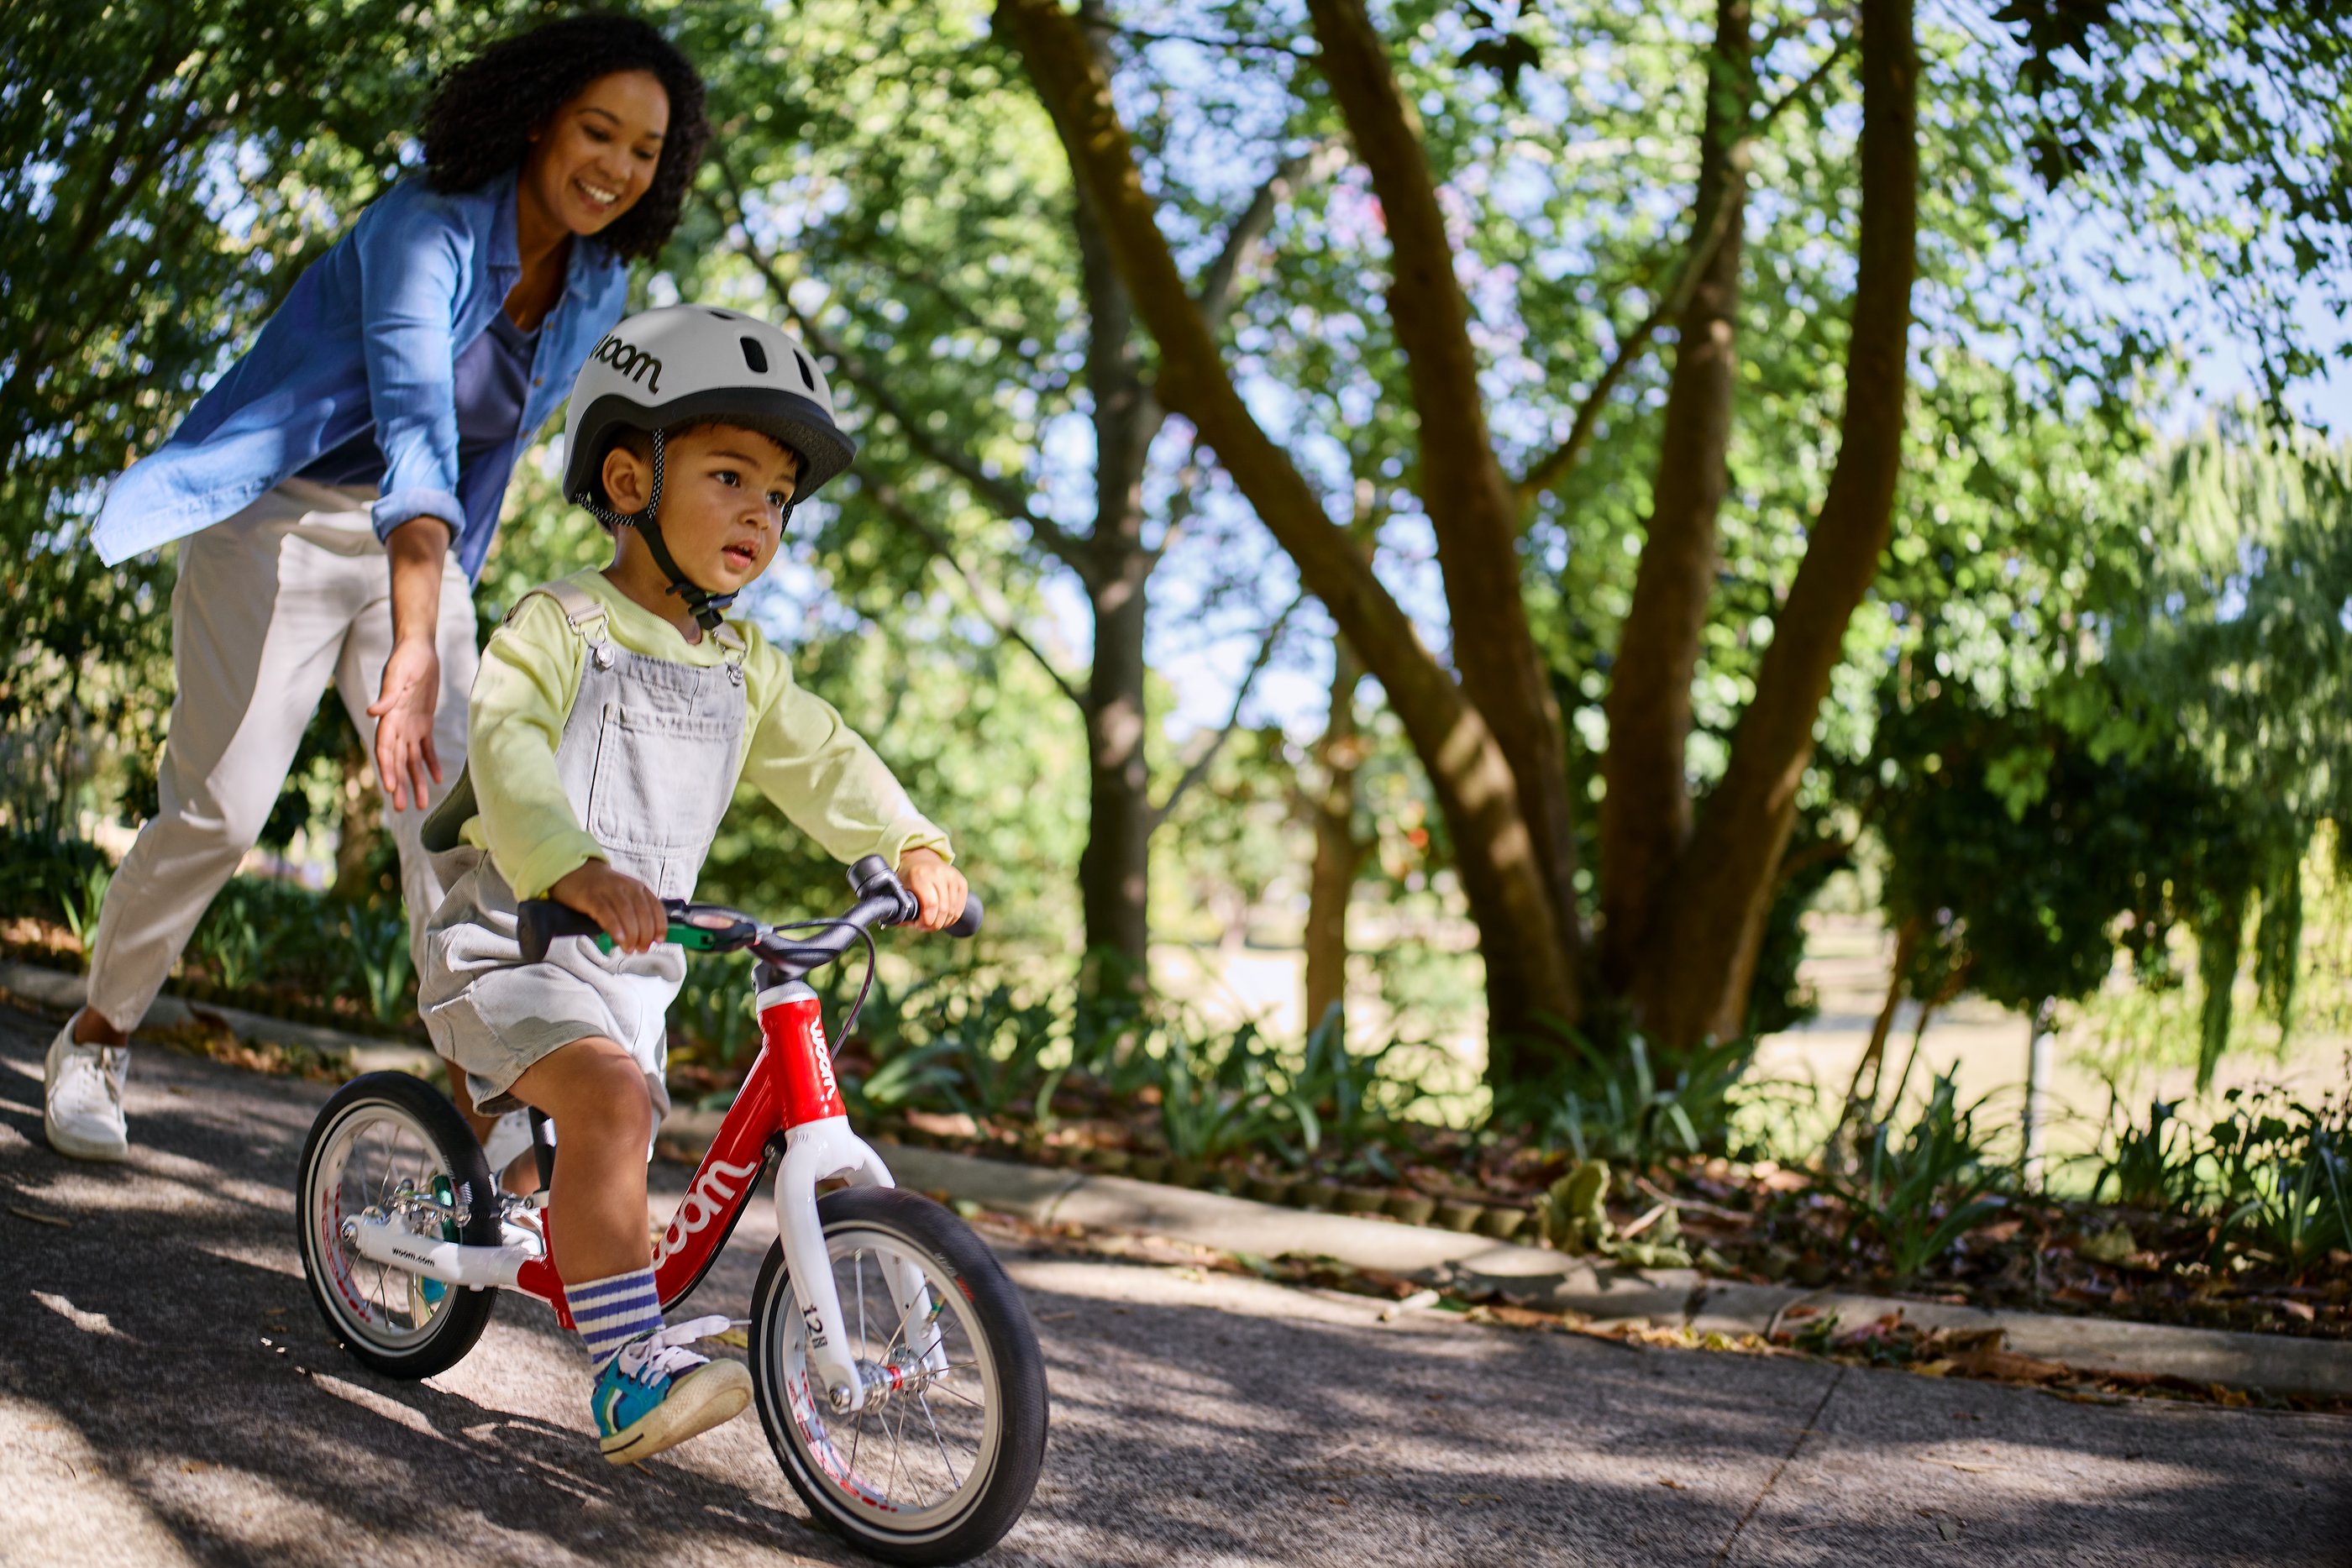
Step 1: Walking on a balance bike
With their legs on either side of the balance bike and their hands on the handlebars, your child can take their first steps into the world of cycling.
#1: Set the saddle to the right height.
Your child should be able to place both feet flat on the ground and still have 3–5 cm of space between their bottom and the saddle.
#2: Give them a helping hand.
At the start, it's a good idea to hold your child's shoulders until they have learned to walk on their balance bike.
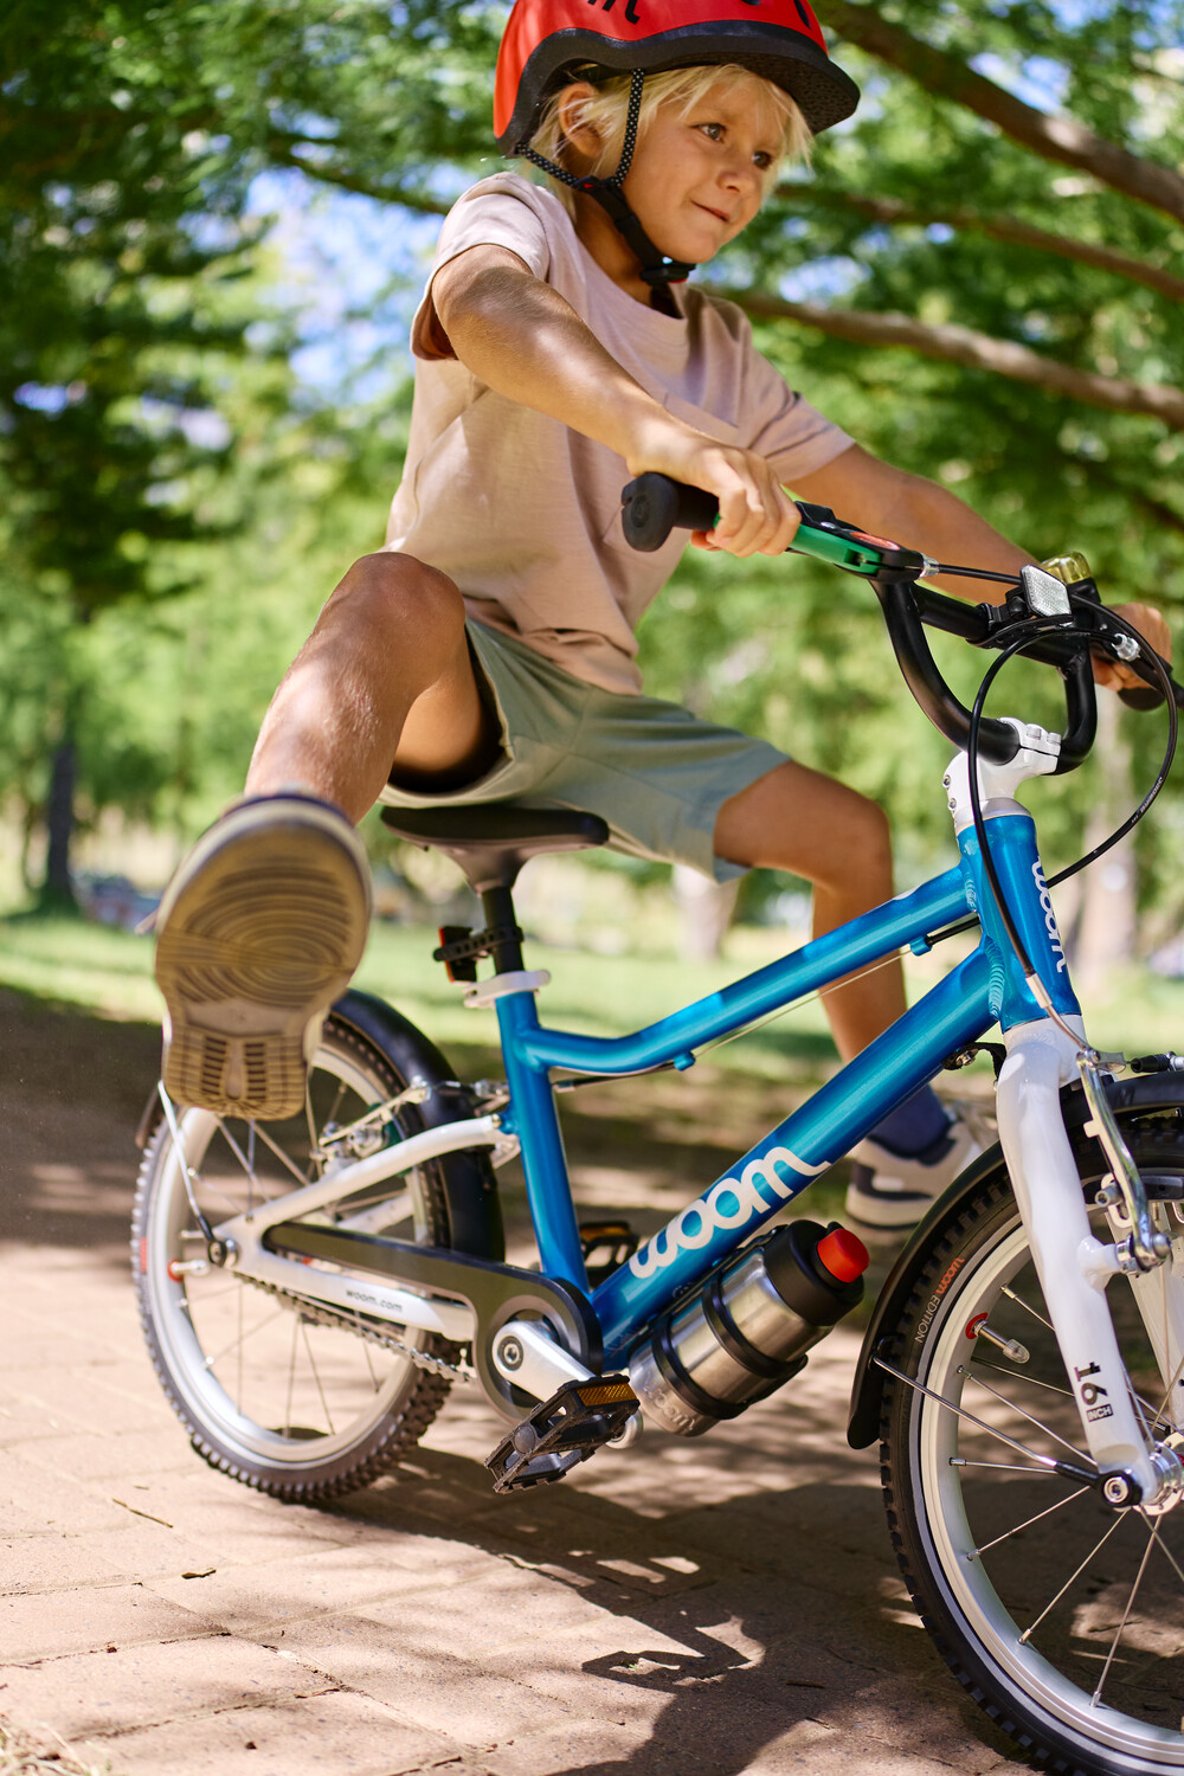
Step 2: Rolling on a balance bike
Now it's time for the steps to become longer – after learning to walk, it is finally time to learn to ride! After a little practice, children will even be able to proudly stretch their legs into the air as they roll by.
As soon as your child spends more time running than walking on their bike, you can gradually increase the saddle height.
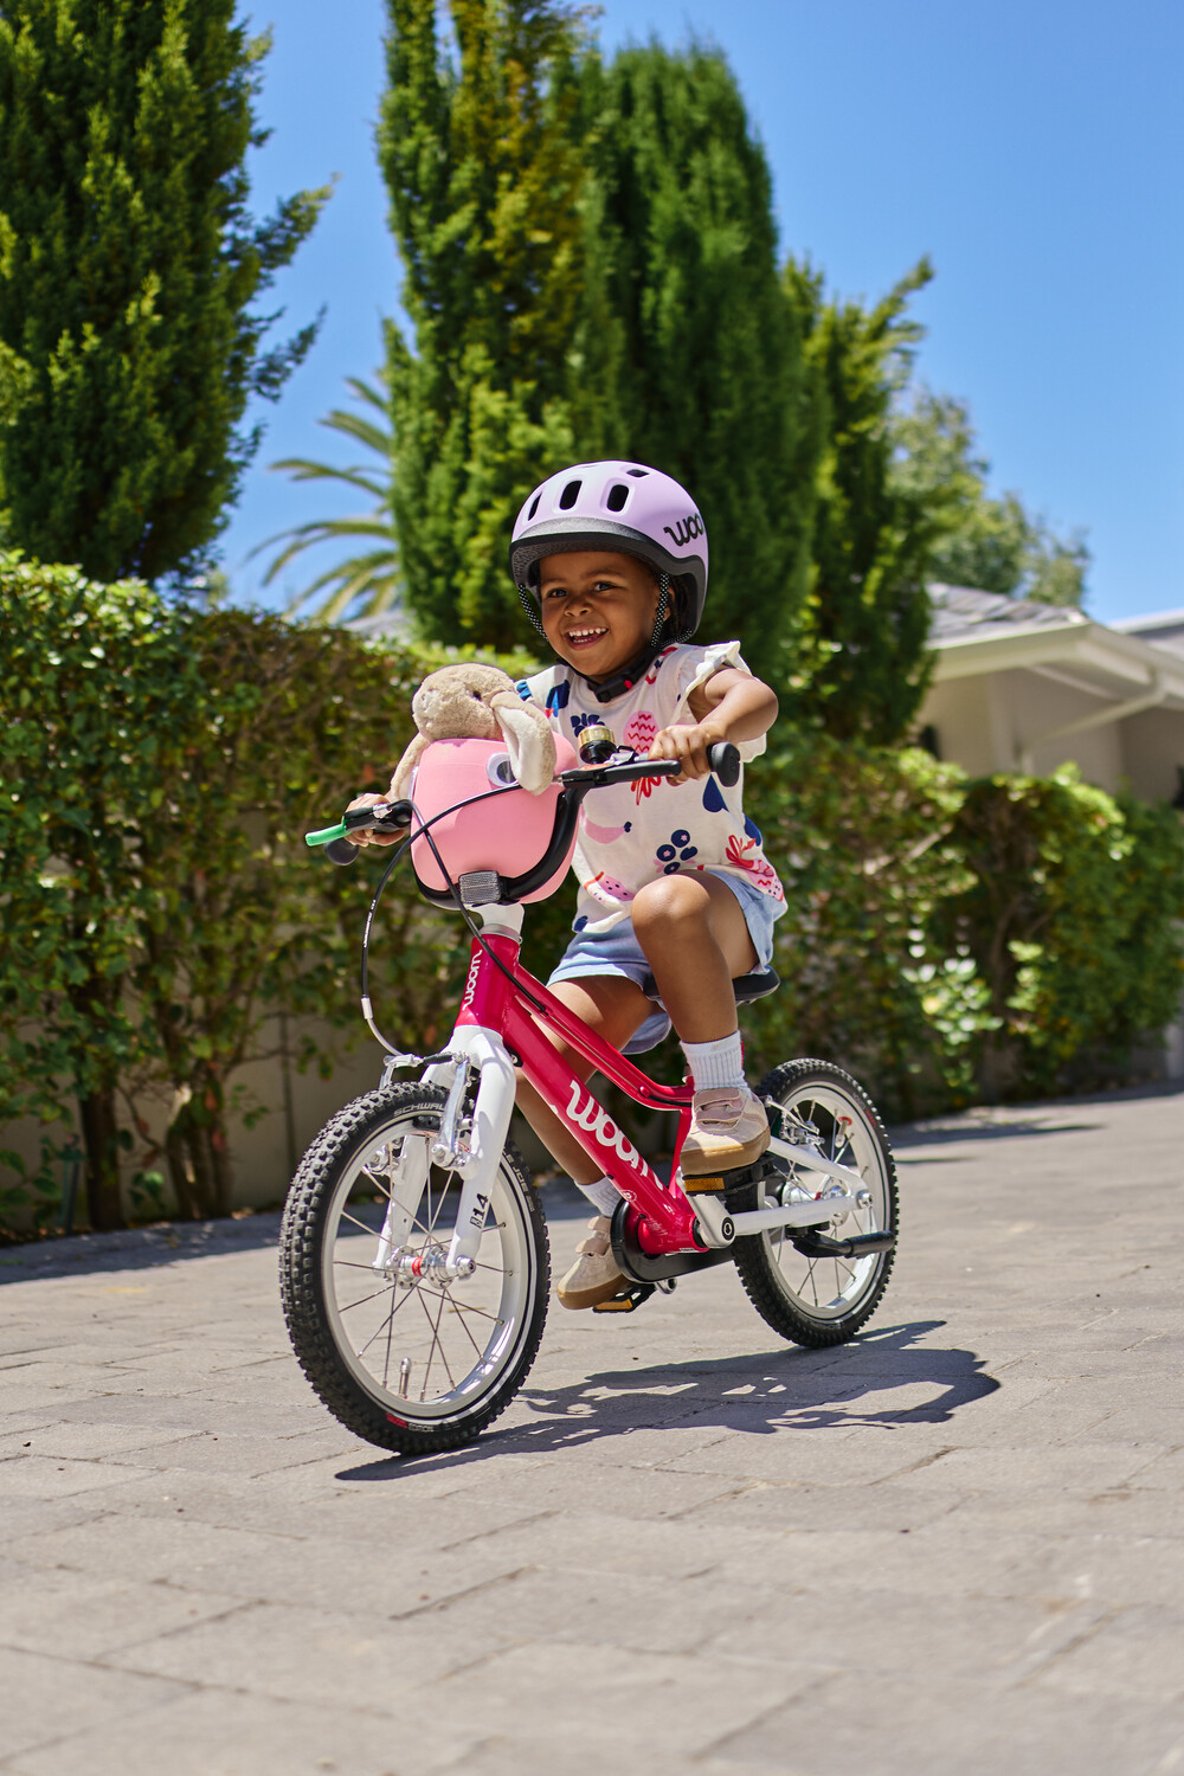
Step 3: Braking on a balance bike
Ideally, children should learn how to brake using their hands while riding a balance bike instead of waiting until they're on a pedal bike. Why so? Having already mastered this building block, children will be free to concentrate on their next milestone: the brand-new skill of pedaling.
The brake on the woom balance bike paves the way to safe, correct braking behavior. It is designed in an impossible-to-miss green color and comes with practical reach adjustability so small children's fingers can get a good hold. It's also super easy to operate with nominal force.
As soon as children are able to run on their balance bike, it's the right time to demonstrate how the brake works. To do so, lift up the bike and give the back wheel a good spin. Pull the brake lever so your child can see how it stops the wheel going round.
You'll recognize the child-friendliness of the brake lever on our woom balance bikes immediately!